
Onsite Badge Printing for Events: A Practical Guide to Faster Check-In
Direct answer: onsite badge printing can mean batch printing at the venue, manually printing PDFs for walk-ins and exceptions, or true check-in-triggered printing. BadgeFlow suits the first two PDF-based workflows. A native live check-in platform is required when each attendee's check-in must automatically trigger a print job.
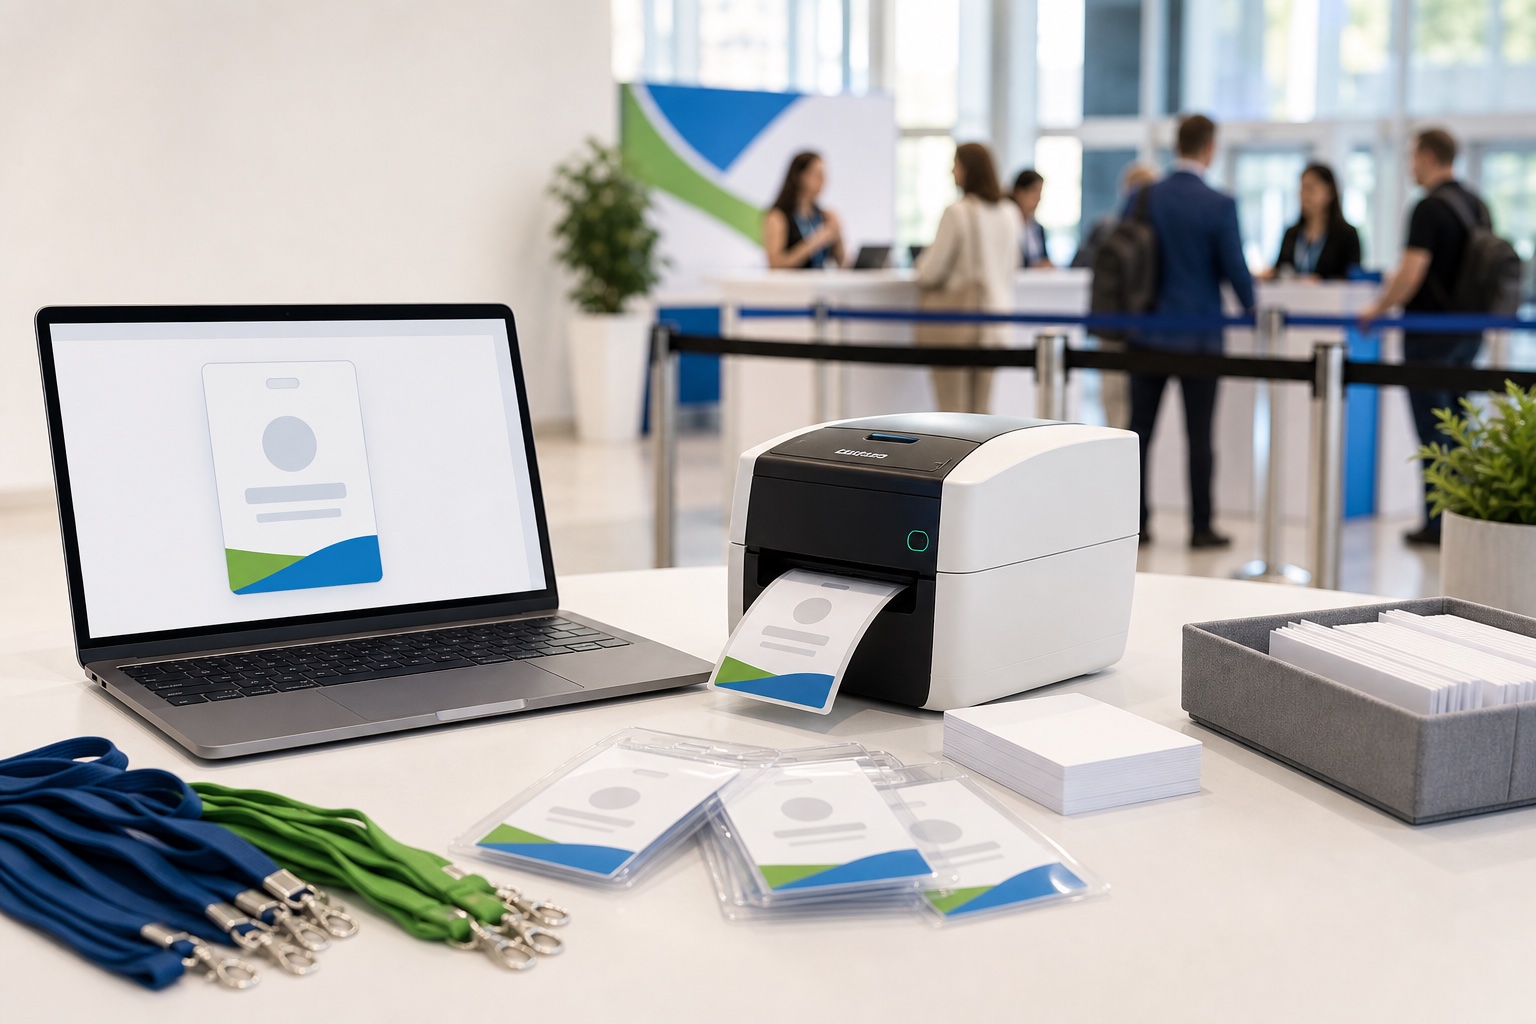
These approaches require different hardware, staffing, software and contingency plans. Choosing the wrong one can add unnecessary complexity or create a queue at precisely the moment when your registration team is busiest.
This guide explains the differences, helps you estimate capacity and shows when a PDF-based workflow is sufficient versus when true on-demand badge printing is worth the additional setup.
What onsite badge printing actually means
Before comparing printers, define what you mean by onsite badge printing. There are three main workflows.
1. Batch printing at the event venue
In this workflow, you prepare the final attendee list and badge design in advance, then print all badges at the venue before registration opens. Printing may happen the previous evening or early in the morning.
The badges are still effectively pre-printed. The only difference is their physical production location. Attendees do not trigger individual print jobs when they check in.
This can work well when transporting completed badges is inconvenient, when the final list arrives late or when the venue provides reliable office printers.
2. PDF-based onsite printing for exceptions
Here, most badges are printed in advance. You also bring the badge template, attendee data and print-ready PDF files to the venue so staff can handle:
- late registrations;
- walk-in attendees;
- name or company corrections;
- lost or damaged badges;
- badges that were missed in the original batch.
The printing operator manually finds or adds the attendee, generates the required badge and sends it to the printer. This is not automatic event check-in badge printing, but it provides most of the flexibility smaller and medium-sized events need.
3. Native on-demand check-in printing
True on-demand badge printing connects the registration record, check-in action and printer workflow. When a staff member checks in an attendee, the platform generates or selects that attendee’s badge and sends it to a configured print queue.
This setup may include multiple check-in devices, dedicated printing stations, live attendance status and reprint controls. It is a more integrated operational system than opening a PDF and selecting Print.
The distinction matters: a tool that creates printable badge PDFs does not automatically become a live check-in platform simply because those PDFs can be printed at the venue.
Pre-printing versus PDF printing versus on-demand printing
| Factor | Pre-printing before the event | PDF-based onsite printing | Native on-demand check-in printing |
|---|---|---|---|
| Setup complexity | Low once the attendee list and layout are final | Moderate: files, laptop, printer and an exception process are required | Higher: registration system, check-in devices, print queues and compatible hardware must be configured |
| Hardware requirements | Any suitable printer used before doors open | Laptop and onsite printer, plus the correct paper, inserts or badge stock | Configured printers, check-in devices, a print workstation or portal and reliable connectivity |
| Late changes | Awkward unless a separate reprint station is available | Easy to handle manually for a manageable number of exceptions | Usually handled directly within the live attendee record |
| Queue speed | Fast badge collection, provided badges are sorted well | Fast for pre-printed attendees; slower at the exception desk | Potentially fast and consistent, but dependent on the complete technical setup |
| Cost | Usually the lowest operational cost | Low to moderate, particularly when using existing office equipment | Typically higher because of platform, hardware, support and setup requirements |
| Ideal event type | Meetups, workshops and events with a stable attendee list | Small and medium conferences needing flexible reprints and late additions | Large, high-throughput or multi-desk events with frequent changes |
When a print-ready PDF workflow is sufficient
You do not always need a fully integrated system to print badges onsite. A PDF-based process is often sufficient when most attendees are known before the event and only a minority will need a new or corrected badge.
A practical hybrid process is:
- Prepare and clean the attendee spreadsheet.
- Create the badge layout and generate the main PDF batch.
- Print and organise most badges before registration opens.
- Keep the source data and template available on an onsite laptop.
- Use a separate exception desk for walk-ins, corrections and reprints.
This avoids making every attendee wait for a printer while preserving flexibility. If your data starts in a spreadsheet, the guide to creating printable name badges from Excel explains the underlying export-to-PDF process.
Printer and media options
The best printer depends on the badge material, print volume, colour requirements and whether printing is a backup function or the centre of your check-in workflow. For a broader cost comparison, review the available options for printing event badges on a budget.
Office laser or inkjet printers
An ordinary office printer can be enough for paper badges, perforated badge sheets or inserts placed into reusable plastic holders.
Laser printers are generally convenient for text-heavy batches and do not rely on liquid ink. Inkjet printers can produce strong colour and photographic detail, but you should test drying, smudging and paper compatibility before event day.
Check the printer’s supported paper weight and media path. Thick card, adhesive sheets and perforated stock can behave differently from ordinary copier paper. Never assume that stock which fits physically is supported by the printer.
Office printers are best when you are batch printing or producing a limited number of onsite exceptions. They are less convenient when every arriving attendee needs a separate page-level print job.
Direct thermal badge printers
Direct thermal printers create an image on heat-sensitive media. They are commonly used for short-lived labels, tickets and monochrome badges because they do not require conventional ink or toner.
They can support fast individual printing, but the printer, driver and badge stock must all be compatible. Most direct thermal output is monochrome, so branding may need to be pre-printed on the stock or simplified for black-and-white production.
Do not buy a thermal printer based on speed alone. Confirm:
- the supported media width and sensing method;
- whether your badge stock uses gaps, marks, fan-fold media or a roll;
- driver support for the event laptop;
- how the stock is cut, torn or separated;
- whether the registration platform officially supports the printer and configuration.
Plastic card printers
Plastic card printers are intended for durable card-format credentials. They may be appropriate for staff IDs, memberships, access credentials or premium passes, but they introduce additional consumables and maintenance.
You will need compatible blank cards and, depending on the print technology, ribbons or transfer film. Card thickness, print area, single- or double-sided production and encoding requirements must be checked against the exact printer.
For a one-day conference where the badge will sit inside a holder, paper inserts are often simpler. Plastic card printing makes more sense when durability, identity verification or longer-term reuse justifies the extra setup.
How to estimate printer and registration-desk capacity
Printer specifications do not tell you how many attendees your complete desk can process. You need to measure the whole interaction:
- finding or scanning the attendee record;
- confirming the attendee’s details;
- correcting data when necessary;
- sending the print job;
- waiting for the badge;
- placing it in a holder or attaching a lanyard;
- giving any arrival instructions.
Run a timed rehearsal with the real laptop, printer, stock and check-in procedure. You can estimate theoretical hourly throughput by dividing 3,600 by the average number of seconds per attendee. However, do not plan to operate continuously at that theoretical maximum. Conversations, paper loading, search errors and exceptions will reduce capacity.
Also consider arrival concentration. An event with 300 registrations may be easy to serve over two hours but difficult if most attendees arrive during the same 20-minute period.
Separate normal and exceptional cases wherever possible. A name correction should not stop a line of attendees whose badges are ready.
Three practical event scenarios
A small meetup
For a small meetup with a stable guest list, pre-print all badges and arrange them alphabetically. Bring a laptop, a small office printer and spare inserts for the occasional walk-in.
A live check-in-triggered printing system would normally add more setup than the event requires.
A 300-person conference
For a 300-person conference, a hybrid model is often effective. Pre-print the main list, divide badge collection into alphabetical ranges and operate one clearly labelled help or reprint desk.
Keep the latest attendee spreadsheet and badge template on the exception laptop. Prepare a small PDF containing only last-minute additions shortly before doors open, then generate individual replacements as required.
If badges include scannable identifiers, test them using the actual printer and holder. The guide to QR codes on conference badges covers placement, contrast and token considerations.
A large multi-desk event
For a large event with many simultaneous registration desks, frequent same-day registrations or multiple ticket categories, native on-demand printing may be more appropriate.
The system should coordinate check-in records, print queues and reprints across desks. You also need a plan for printer assignment, network failure, duplicated jobs and reassignment when one station stops working.
A PDF workflow can still be valuable as a fallback or at a dedicated exceptions desk, but manually generating every badge is unlikely to provide the same operational control as a system designed for live multi-desk printing.
Handling walk-ins, name corrections and reprints
Create one documented exception workflow rather than allowing every registration volunteer to improvise.
- Walk-ins: collect the required details in a standard row or registration form before creating the badge.
- Name corrections: update the source record first so the corrected information is not lost after printing.
- Company or role changes: confirm whether the attendee is allowed to change the field and whether it affects access.
- Lost badges: mark the original as replaced if badges are used for access or scanning.
- Print failures: check the queue before resending so one delayed job does not become several duplicate badges.
For large lists, prepare consistent columns and unique attendee identifiers in advance. The attendee spreadsheet template for large conferences provides a useful starting structure.
Badge size, paper size and holder compatibility
A badge design is only correct when the printed item fits its holder, printer and paper layout.
Measure the holder’s internal insert area rather than relying only on its outside dimensions. Allow for seams, zip closures, punched holes and lanyard clips. A nominal 4 × 6 inch holder, for example, may not provide a completely unobstructed 4 × 6 inch design area.
Then confirm:
- finished badge width and height;
- portrait or landscape orientation;
- paper size, including A4 or US Letter;
- the number of badges per sheet;
- printer margins and printable area;
- whether cutting, perforation or folding is required.
Use the broader event badge size guide for common formats, or the conference badge size guide when comparing formats such as 4 × 3, 4 × 6, A6 and A7.
Step-by-step event-day setup checklist
- Freeze and back up the data. Keep dated copies of the final attendee file and any late-registration file.
- Generate the main badge PDF. Review unusually long names, missing companies, blank rows and duplicate records.
- Print representative tests. Include long names, short names, QR codes, photographs and different attendee types.
- Test the finished physical badge. Cut or separate it, insert it into the holder and scan any QR code through the holder.
- Install and test the venue printer. Do not rely on a printer simply appearing when the laptop reaches the venue.
- Disable sleep where appropriate. Keep dedicated printing equipment available throughout the registration period.
- Label supplies. Separate tested stock from untested paper and keep spare media beside each printer.
- Assign desk responsibilities. Decide who checks attendees in, who edits data and who resolves printer problems.
- Run a queue rehearsal. Simulate several normal arrivals followed by a correction, walk-in and reprint.
- Keep the fallback ready. Store PDFs locally and have a manual arrival list available.
Common printing failures and how to prevent them
- Incorrect scaling: the PDF is fitted to the printable area, making inserts smaller than their holders.
- Wrong paper size: an A4 file is printed using US Letter settings, or the reverse.
- Media mismatch: the driver expects ordinary paper while the printer contains labels or thick stock.
- Skipped or duplicated jobs: staff resend jobs without checking whether the original is delayed.
- Long-name overflow: the template was tested only with short sample names.
- Unreadable QR codes: codes are too small, low contrast or affected by holder glare.
- Printer disconnection: a USB cable is loose, a wireless printer changes network or the laptop sleeps.
- Supply shortages: there is enough paper for attendees but not enough for tests, errors and reprints.
Prevent these failures by testing the complete physical workflow, not just the design shown on screen.
Why 100% or actual-size printing matters
When a PDF has been created for a specific paper and badge size, print it at 100% or using the PDF viewer’s “Actual size” option unless the template instructions say otherwise.
Options such as “Fit”, “Scale to fit” or “Shrink oversized pages” can change the dimensions of every badge on the sheet. Even a small reduction may shift perforations, create uneven cutting lines or leave an insert loose inside its holder.
Adobe’s PDF page-size printing guidance defines “Actual size” as printing without scaling. Always print one test sheet and measure it before producing the full batch.
Creating a fallback plan
A reliable event badge printing setup assumes that something will fail.
Your fallback kit should include:
- a local copy of the final PDF rather than a cloud-only file;
- a second copy of the attendee spreadsheet;
- spare paper, inserts, holders and lanyards;
- replacement cables and power adapters;
- a second printer or an identified venue business centre;
- blank badges and permanent markers;
- a manual attendee list for temporary check-in;
- written instructions for moving jobs to the backup station.
A handwritten temporary badge is better than leaving an attendee at the desk while the team troubleshoots a driver.
When BadgeFlow is a suitable option
BadgeFlow is suitable when your badge process is based on Excel, Google Sheets, CSV or pasted spreadsheet data and you want to create customised, print-ready PDF files.
You can use it to set badge and paper dimensions, map attendee fields, add text, images, QR codes or barcodes and export a PDF for bulk or onsite printing.
This makes it a practical option for:
- pre-printing the full attendee list;
- printing the final batch at the venue;
- preparing a separate PDF for late registrations;
- running a manual replacement and corrections desk;
- creating backup PDF files before event day.
BadgeFlow is not a live registration or attendee check-in platform. It does not automatically trigger printing when someone checks in, control printer queues or provide native direct-printer integrations.
When a native live check-in platform may be more appropriate
Consider a native platform when printing must be part of the live arrival transaction rather than a separate manual task.
This is more likely when:
- most badges will be printed only after attendees arrive;
- many registration staff need to work simultaneously;
- same-day registration changes are frequent;
- live attendance status must stay synchronised across devices;
- you need automatic print triggers or central print-queue monitoring;
- hardware setup and event-day technical support are included in the service.
For example, Whova describes an on-demand printing workflow in which checking in an attendee adds the badge to a configured printing queue. That is fundamentally different from manually generating and printing a PDF.
Choose the simplest workflow that meets your event-day needs
Successful onsite badge printing is not about buying the fastest printer. It is about matching the printing workflow to the number of attendees, expected exceptions, arrival pattern and level of live integration you actually need.
Pre-printing remains the simplest option for stable lists. PDF-based onsite printing adds an effective safety net for late registrations and corrections. Native on-demand printing is most valuable when badge production must be tightly connected to high-volume, multi-desk check-in.
Whichever approach you choose, test the real paper, printer, holder, laptop and attendee workflow before registration opens—and always keep a fallback.
Frequently asked questions
What is onsite badge printing?
Onsite badge printing can mean printing a complete badge batch at the venue, manually printing late additions and replacements from PDF files, or automatically printing each badge when an attendee checks in. These workflows should not be treated as interchangeable.
Can I print event badges onsite with an ordinary printer?
Yes. An office laser or inkjet printer can work for paper badges, perforated sheets and badge-holder inserts, provided the printer supports the chosen media. Test the stock, paper size and actual-size settings before the event.
What is true on-demand badge printing?
True on-demand printing connects the attendee’s live registration record to the printer. A check-in action sends the corresponding badge to a configured print queue without staff manually opening a PDF for each attendee.
How many badge printers do I need?
Calculate this from a timed rehearsal of the complete check-in process and the number of attendees expected during the busiest arrival period. Include time for searches, corrections, badge assembly and printer recovery rather than relying only on the manufacturer’s print-speed figure.
Should badge PDFs be printed at 100%?
Usually, yes. When the PDF was created for a specific badge and paper size, use 100% or Actual size. Fit-to-page settings can shrink the layout and cause misalignment with holders, cutting guides or perforations.
Does BadgeFlow provide live attendee check-in?
No. BadgeFlow creates customised, print-ready badge PDFs from spreadsheet data. It does not provide live check-in, automatic print triggers or direct printer-queue integrations.