
How to Design Professional Conference Name Badges
Direct answer: make the attendee name the largest element, place company and role beneath it, reserve separate zones for attendee type and scannable codes, and keep event or sponsor branding secondary. Use high contrast, generous white space and a safe area inside the holder's visible window. Test the longest names and missing fields before approving the template.
Badge information hierarchy
- Attendee name: the fastest element to identify at networking distance.
- Company or organisation: the main conversation context.
- Role or title: secondary information; allow it to disappear cleanly when missing.
- Attendee type: speaker, VIP, staff or exhibitor status in a distinct colour or label zone.
- QR code or barcode: only when there is a defined scanning workflow.
- Event and sponsor branding: visible but never competing with the attendee's identity.
Conference badge anatomy
JOHNSON
The border represents the safe area: important text and the code stay away from trim lines, holder seams and lanyard slots. Confirm the real holder's insert and visible-window measurements with the badge holder size guide.
Practical font-size starting points
These are starting ranges, not fixed rules. Test the printed badge at the distance where attendees will use it.
| Badge format | Attendee name | Company | Role or title |
|---|---|---|---|
| 4×3 in | 28–40 pt | 16–22 pt | 12–16 pt |
| 4×6 in | 36–56 pt | 20–28 pt | 14–20 pt |
| A7 | 24–36 pt | 14–20 pt | 11–15 pt |
| A6 | 36–54 pt | 20–28 pt | 14–20 pt |
Compare exact physical formats in the conference badge size guide.
Contrast, white space and resilient data
- Contrast: use dark text on a light background or the reverse. Do not rely on colour alone to communicate attendee type.
- White space: separate name, organisation and operational fields so the badge can be read in a glance.
- Safe areas: keep critical content inside the printable area and away from holder borders, punch holes, clips and trim lines.
- Long names: test realistic longest-case data. Allow controlled wrapping or a bounded font reduction instead of shrinking every attendee's name.
- Missing fields: hide empty role or company lines so they do not leave labels, punctuation or awkward gaps.
- Scannable codes: preserve clear space around the code and test it from the final print. See the QR-code and barcode badge guide.
Choose a template by attendee type
| Badge type | Template emphasis | Useful secondary elements |
|---|---|---|
| Attendee | Large name and company | Role, networking code |
| Speaker | Large name plus a prominent speaker band | Session or track when operationally useful |
| VIP | Fast visual identification without reducing name size | Access tier |
| Staff | High-contrast STAFF label | Team or responsibility |
| Exhibitor | Company and exhibitor status | Booth number, lead-scanning code |
Start from the conference badge template guide, then validate the design with actual attendee data from your Excel badge workflow.
Test before the full print run
Print at 100% or “actual size” on the final stock. Check the longest name, the shortest record, a missing company or role, every attendee-type variation, colour contrast, holder fit and at least one real QR or barcode scan. Correct the template once, then regenerate the full PDF.
How BadgeFlow Helps You Design Better Badges
BadgeFlow removes the complexity of manual tools like Word or Illustrator:
- Upload your attendee spreadsheet (Excel, Google Sheets, CSV)
- Pick from 30+ clean, professional templates
- Customize fonts, logos, colors, QR codes, barcodes, and more
- Supports any badge or paper size (standard or custom)
- Download a ready-to-print PDF with perfect alignment
No design software. No formatting drama. Just fast, beautiful badges.
FAQs: Conference Badge Design
What's the best size for conference name badges?
The most common size is 4" x 3" (landscape), which fits standard badge holders and lanyards. Other popular sizes include 3.5" x 2" (business card size) and 4" x 6" (portrait).
What font size should I use for names on badges?
Use at least 24–36pt for the attendee's first name to ensure it's readable from 6–10 feet away. Secondary information like company or title can be 14–18pt.
Should I use portrait or landscape orientation?
Landscape (horizontal) is more common and works better with most badge holders. Portrait can work if you need more vertical space for additional information.
How do I add QR codes to conference badges?
Tools like BadgeFlow let you add QR codes directly from your spreadsheet. Just include a column with the QR data (URL, vCard, etc.) and map it to the badge design.
What's the best way to color-code badges?
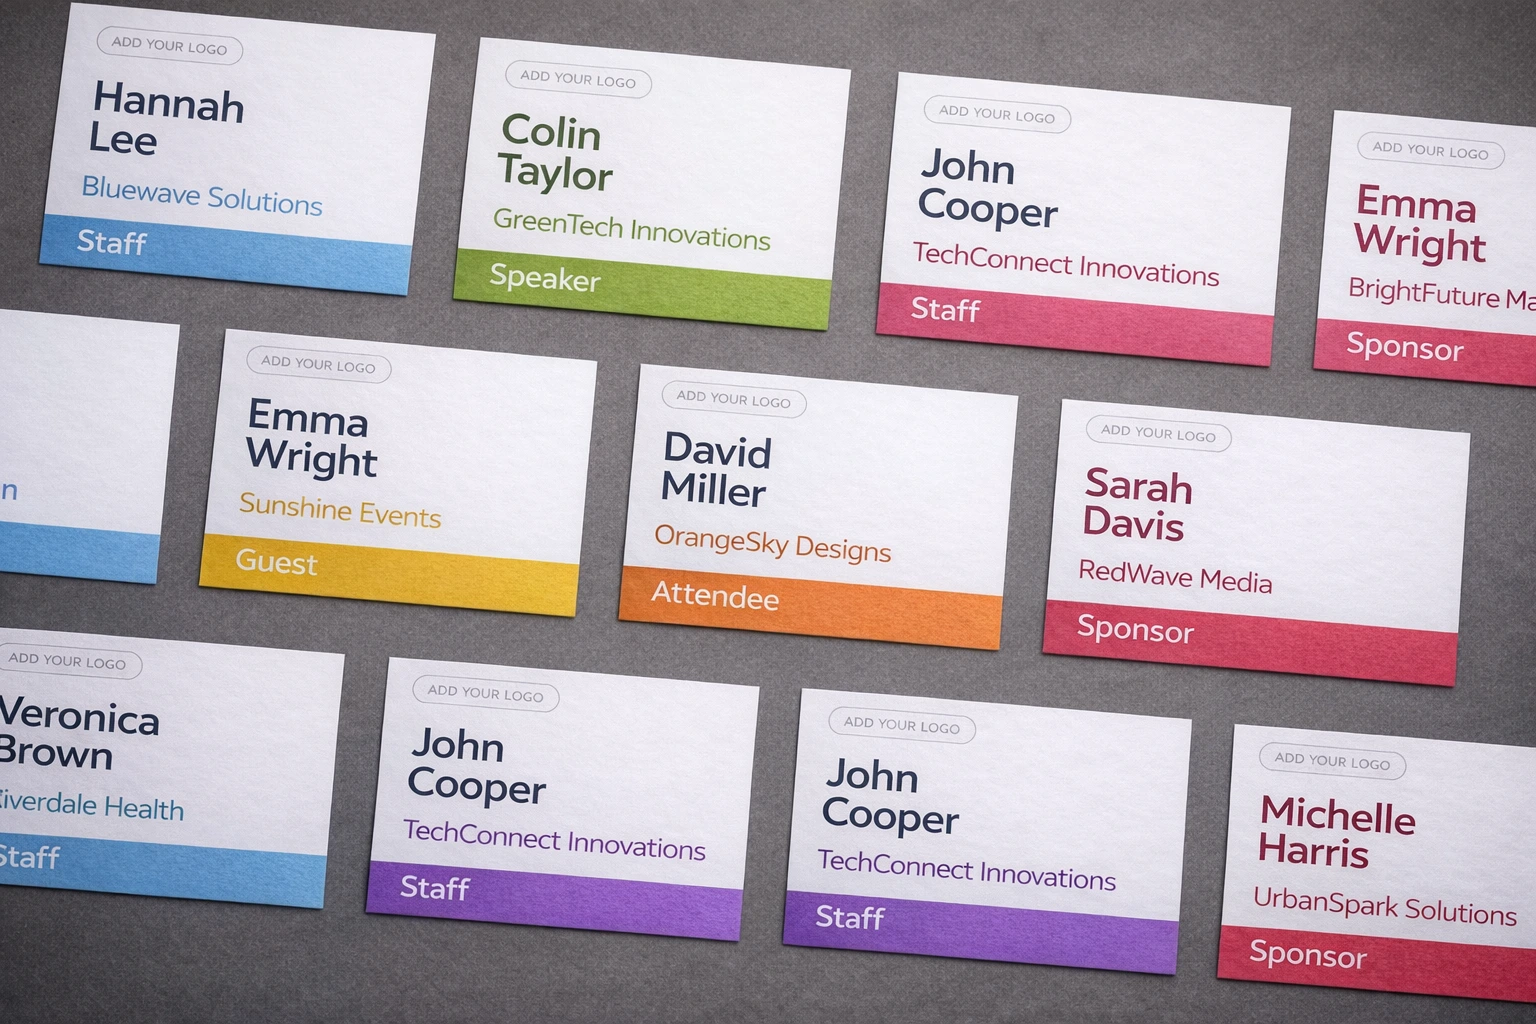
Use colored borders, ribbons, or background accents to indicate different attendee types (speaker, sponsor, VIP, general attendee). Keep the main badge area consistent for easy reading.
Can I design badges without graphic design software?
Yes! BadgeFlow provides professional templates and a simple interface—no design software needed. Upload your spreadsheet, customize the template, and download print-ready badges.
How do I ensure badges print correctly?
Always do a test print first on the same paper stock you'll use. Check alignment, colors, and readability. Make sure your PDF is set to 100% scale (no "fit to page" settings). For comprehensive printing guidance, see our article on printing event badges on a budget.
What information should be on a conference badge?
Essential: Name (largest text), Company or Affiliation. Optional: Job title, QR code, table number, dietary preferences, attendee type/role, event logo.