
Conference Badge Dimensions in mm, cm and Inches
Technical scope: this page is for exact mm, cm and inch conversions, print scaling, safe areas and holder-fit checks. If you are still deciding which standard format to use, start with the conference badge size selection guide.
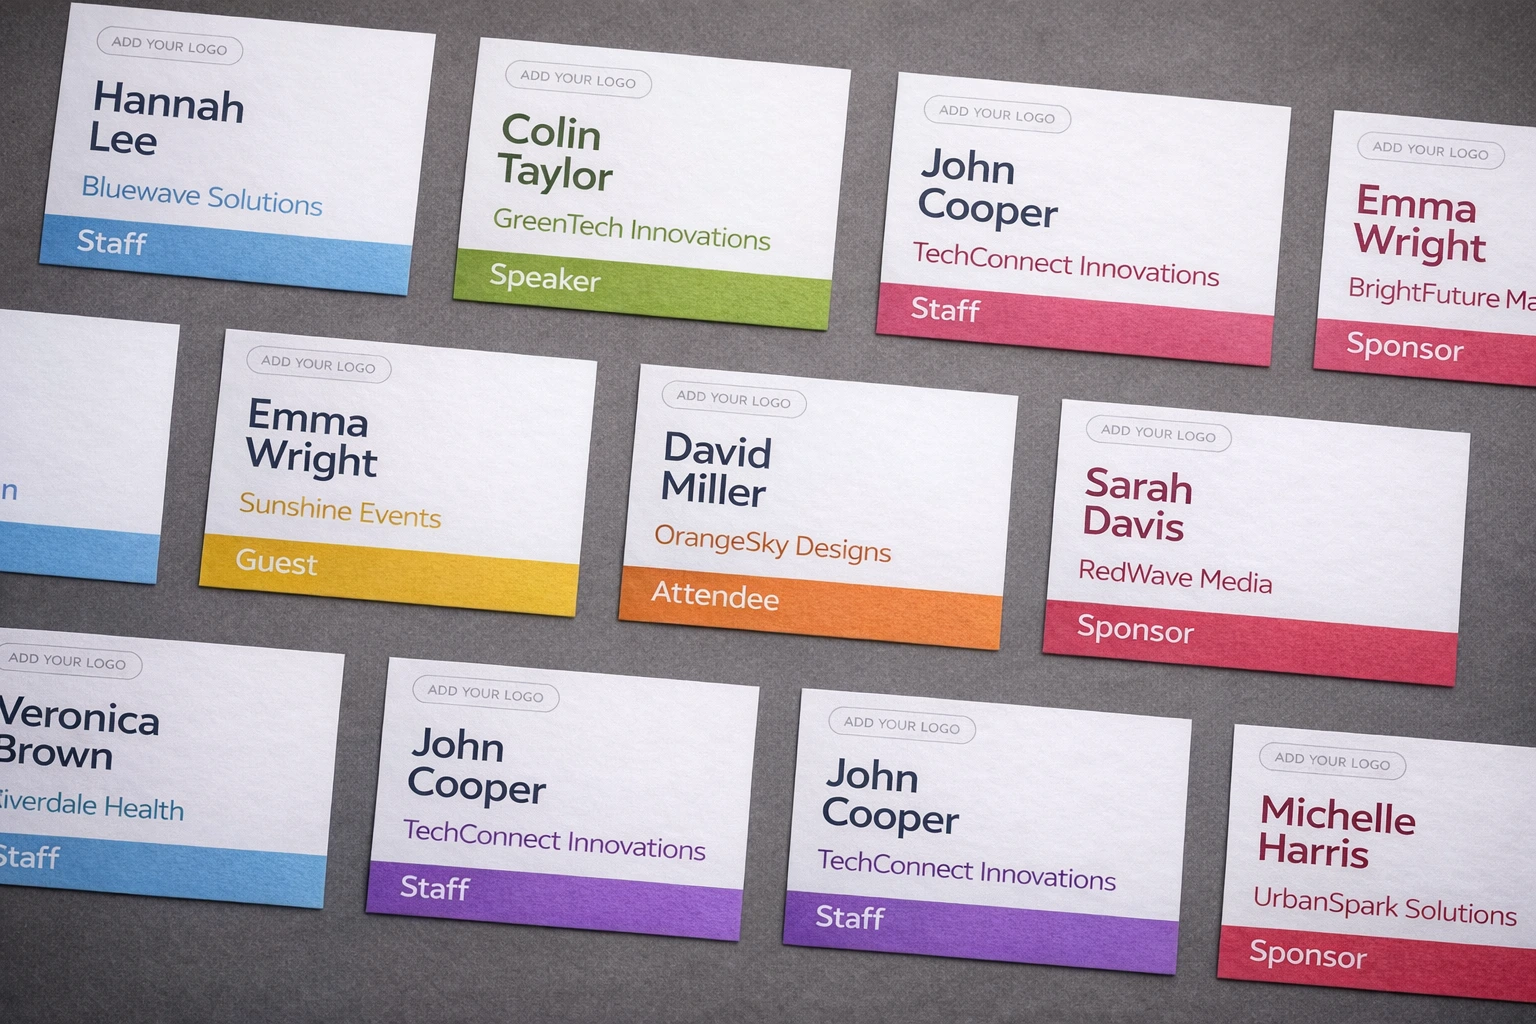
If you are searching for conference badge dimensions, you probably need a quick answer to three practical questions:
- What size should the badge be?
- What does that size equal in mm, cm, and inches?
- Will it actually fit the badge holder, insert pocket, or printable sheet you plan to use?
That last question is the one that catches people out.
A badge can look perfect on screen and still fail on print day because the badge size, holder size, and insert size are not always the same thing. This guide gives you a fast conversion table for common conference badge sizes, explains the holder-vs-insert trap, and helps you choose dimensions based on what needs to appear on the badge: names, companies, roles, QR codes, sponsor logos, or access tiers.
For a broader overview of choosing between 4×3, 4×6, A6, and A7 formats, see our full conference badge size guide.
Quick conversion table: mm, cm, and inches
Here are the most common conference badge dimensions in one place:
| Size name | Inches | Millimetres | Centimetres | Best for |
|---|---|---|---|---|
| 4×3 in | 4 × 3 in | 101.6 × 76.2 mm | 10.16 × 7.62 cm | Simple attendee badges, meetups, short events |
| 4×6 in | 4 × 6 in | 101.6 × 152.4 mm | 10.16 × 15.24 cm | Conferences, expos, QR-heavy layouts |
| A7 | 2.9 × 4.1 in | 74 × 105 mm | 7.4 × 10.5 cm | Compact UK/EU event badges |
| A6 | 4.1 × 5.8 in | 105 × 148 mm | 10.5 × 14.8 cm | Popular UK/EU conference passes |
| CR80 / credit-card size | 3.375 × 2.125 in | 85.6 × 54 mm | 8.56 × 5.4 cm | Small inserts, staff passes, reusable holders |
| Common insert format | 3.39 × 2.17 in | 86 × 55 mm | 8.6 × 5.5 cm | Paper inserts for 60×90 mm holders |
If you want the shortest possible answer: most conference badges fall between 4×3 inches and 4×6 inches, while A7 and A6 are especially common in the UK and Europe.
If you are comparing badge sizes for different event types, you may also want the more general event badge size guide.
Common conference badge dimensions
There is no single universal “standard” conference badge size. But a few formats show up again and again because they work well in real event conditions.
4×3 inches
A 4×3 inch badge is one of the most common choices for smaller events and simple attendee lists.
It gives you enough room for:
- attendee name
- company name
- short role or title
- maybe one small QR code
It works especially well for:
- meetups
- workshops
- one-day internal events
- networking events with minimal badge content
If your badge only needs to communicate the essentials, 4×3 is clean, light, and easy to manage. It is also a good option if you want a badge that feels less bulky on a lanyard.
For smaller technical events, the same sizing logic applies to developer meetup badges.
4×6 inches
A 4×6 inch conference badge gives you much more vertical space. This matters when you need:
- a large readable name
- company and job title
- role labels like Speaker, VIP, Staff, Exhibitor, Volunteer
- sponsor logos
- meal icons or access indicators
- a QR code or barcode with enough white space around it
This is often the better choice for:
- multi-day conferences
- trade shows
- exhibitions
- large events with structured access control
If people need to read badges from a few feet away, or if scanning is part of check-in or lead capture, 4×6 is the more forgiving format.
For layout rules, font sizing, and hierarchy, see our guide on how to design conference name badges.
A7
A7 badges are 74 × 105 mm, or 7.4 × 10.5 cm.
A7 is a compact UK/EU-friendly option. It feels lighter than A6 and still looks professional if the design is simple.
It is best when the badge includes:
- name
- company
- one small secondary line
- maybe a modest QR code
A7 can work very well for smaller conferences, though it gets tight once you add sponsors, multiple lines of text, or visual status markers.
A6
A6 badges are 105 × 148 mm, or 10.5 × 14.8 cm.
A6 is one of the most practical conference pass sizes because it offers plenty of room without becoming oversized.
A6 works especially well for:
- longer names
- larger font sizes
- prominent event branding
- QR codes that must scan quickly
- multiple visual zones on the badge
For many organisers, A6 hits the sweet spot between readability and portability.
If your conference has several attendee categories, A6 also gives you more room for visual role indicators such as Speaker, VIP, Staff, Sponsor, Press, or Exhibitor. For spreadsheet planning at that scale, use the attendee spreadsheet template for large conferences.
The holder vs insert trap
This is where many badge projects go wrong.
When suppliers describe a badge product, they may talk about:
- the holder size
- the insert size
- the visible area
- or a named format like A6, without meaning exact ISO A6
These are not always identical.
Holder size is not the same as insert size
The holder is the plastic wallet or badge pocket.
The insert is the paper card you print and slide inside.
For example, a holder might be sold as a 60×90 mm badge holder, but the insert that fits inside may be closer to 55×86 mm. The holder is bigger because it includes the pocket edges, seams, and attachment slot.
If you design to the outer holder dimensions instead of the insert dimensions, your printed badge may not fit properly.
“A6” may not always mean exact A6
Another common issue: some suppliers label a holder or product as A6, but the actual product may be slightly larger or smaller than exact ISO A6.
That is not necessarily a problem. It just means you should not assume the printed insert should match the product name without checking the supplier’s specification first.
How to avoid sizing mistakes
Before you finalise badge artwork, confirm these five things:
- Maximum insert size stated by the supplier
- Orientation: portrait or landscape
- Whether the supplier measures the outer holder or the paper insert
- Whether the holder has a lip, seam, or slot cutout that reduces usable area
- The actual visible area, if part of the badge is hidden behind the holder edge
The safest workflow is simple:
Choose the print size first, then buy matching holders.
If holders are already ordered, design to the insert size, not the holder name.
Choosing dimensions based on content
The right conference badge size depends less on tradition and more on what the badge needs to do.
If the badge only shows name + company
Use 4×3 in or A7.
These sizes are enough when the badge is mainly for identification and informal networking. They look neat and are cheaper to print in bulk.
This is often enough for:
- networking events
- small conferences
- internal workshops
- simple visitor badges
If your attendee data is already in a spreadsheet, the simplest workflow is usually to create name badges from Excel and export a print-ready PDF.
If you need QR codes or barcodes
Use 4×6 in or A6.
Codes need breathing room. A cramped QR code with text too close to the edges is harder to scan and more likely to fail when printed at speed.
Larger badge formats also make it easier to keep names readable while preserving a safe quiet zone around the code.
If scanning matters, read the dedicated guide to QR codes and barcodes on name badges. For larger conferences, the guide to QR codes on conference badges explains what to encode for check-in, session scanning, and sponsor lead retrieval.
If you need sponsor logos or multiple content zones
Use 4×6 in or A6.
As soon as you divide a badge into sections, smaller badge sizes become less forgiving.
A typical conference badge may include:
- top area for event branding
- middle area for attendee identity
- lower area for QR code
- footer or side strip for sponsor placement
- role band for Speaker, VIP, Staff, or Exhibitor
That is a lot to fit into a small badge.
If you need all of that, choose a larger format and keep the layout clean.
If you use role-based or access-based badges
Use 4×6 in, A6, or a very structured 4×3 layout.
If your badge has to show “Speaker,” “VIP,” “Staff,” “Press,” or “Exhibitor,” you need enough space for strong visual hierarchy.
That usually means:
- a large name
- a clear role label
- strong contrast
- maybe a colour band, border, or footer strip
Bigger sizes make this much easier to get right without clutter.
For internal team events and offsites, the same logic applies to branded company offsite badges.
Printing notes: margins, crop, and test prints
Once you choose the badge dimensions, the final success depends on print setup.
Leave safe margins
Do not place critical text right at the edge.
Even if the badge size is correct, slight printer shifts or holder overlap can trim or hide important details.
Leave a safe margin around:
- attendee names
- QR codes
- logos
- role labels
- sponsor graphics
This is especially important if you are trimming badges manually or using holders with visible seams.
Be careful with full-bleed designs
If your badge has background colour or graphics extending to the edge, make sure your print workflow supports that properly.
Otherwise, you may end up with:
- white lines around the edge
- clipped background graphics
- uneven trimming
- unexpected scaling
For many event teams, a clean white badge with brand-colour accents is safer than a full-bleed background.
Print at 100% scale
Always double-check printer settings.
If the print dialog is set to:
- “Fit to page”
- “Shrink to printable area”
- “Scale to fit”
- or any automatic scaling option
your carefully chosen badge dimensions may change slightly.
That small change can be enough to ruin insert fit.
For conference badges, always test with:
- actual size / 100% scale
- the real paper stock
- the real holder you plan to use
If you are comparing printing methods, see Printing Event Badges on a Budget.
Do one physical test print
Before printing the full batch, test one page and check:
- width and height
- trim accuracy
- holder fit
- visible area
- readability from a few feet away
- QR scan reliability
This one test can save hours of rework.
From dimensions to print-ready badges
Once you know your badge dimensions, the production workflow is straightforward:
- Prepare your attendee spreadsheet.
- Choose the badge size: 4×3, 4×6, A7, A6, or custom.
- Add the fields you need: name, company, role, QR code, ticket type.
- Preview real attendee data.
- Export a print-ready PDF.
- Print one test page at 100% scale.
- Print the full batch.
If you are currently planning to use Word, compare the trade-offs in Mail Merge Name Tags vs Online Badge Generator. If you specifically need a step-by-step Excel workflow, read How to Print Name Tags from Excel.
If your attendee list comes from an event platform, BadgeFlow also has dedicated guides for Eventbrite badge printing, printing name badges from Eventbrite, Bizzabo name badges, Cvent name badges, and Universe.com name badges.
Final recommendation
If you want a fast default choice:
- choose 4×3 in for simple event badges
- choose 4×6 in for content-rich conference badges
- choose A7 for compact UK/EU passes
- choose A6 for the classic roomy conference format
And always remember:
Badge holder size and badge insert size are not the same thing.
If the badge needs QR codes, sponsors, role labels, or better distance readability, go larger. If it only needs name and company, a smaller format is usually enough.
BadgeFlow lets you create badges in any of these dimensions, import attendee data from Excel or CSV, add QR codes or barcodes, and export a print-ready PDF for your printer, paper size, and badge holders.
FAQ: conference badge dimensions
What are standard conference badge dimensions?
There is no single universal standard, but many conference badges use 4×3 inches or 4×6 inches. In the UK and Europe, A7 and A6 are also common event pass sizes.
What is a 4×3 badge size in mm and cm?
A 4×3 inch badge is 101.6 × 76.2 mm, or 10.16 × 7.62 cm.
What is a 4×6 badge size in mm and cm?
A 4×6 inch badge is 101.6 × 152.4 mm, or 10.16 × 15.24 cm.
What are A6 and A7 badge dimensions?
A6 is 105 × 148 mm, or 10.5 × 14.8 cm. A7 is 74 × 105 mm, or 7.4 × 10.5 cm.
Is badge holder size the same as badge insert size?
No. The holder is the outer plastic pocket, while the insert is the paper badge that slides inside it. Always design to the supplier's maximum insert size or visible area, not just the holder name.
What badge size is best for QR codes?
For QR codes or barcodes, 4×6 inches or A6 usually gives the safest layout because there is more room for a readable name, supporting details, and the code's quiet zone.