QR Codes & Barcodes on Name Badges: How to Generate and Print Scannable Event Badges (Fast)
Want faster check-in, less queueing, and fewer “What’s your name again?” moments? Putting a QR code (or barcode) on each badge is one of the simplest ops upgrades you can make.
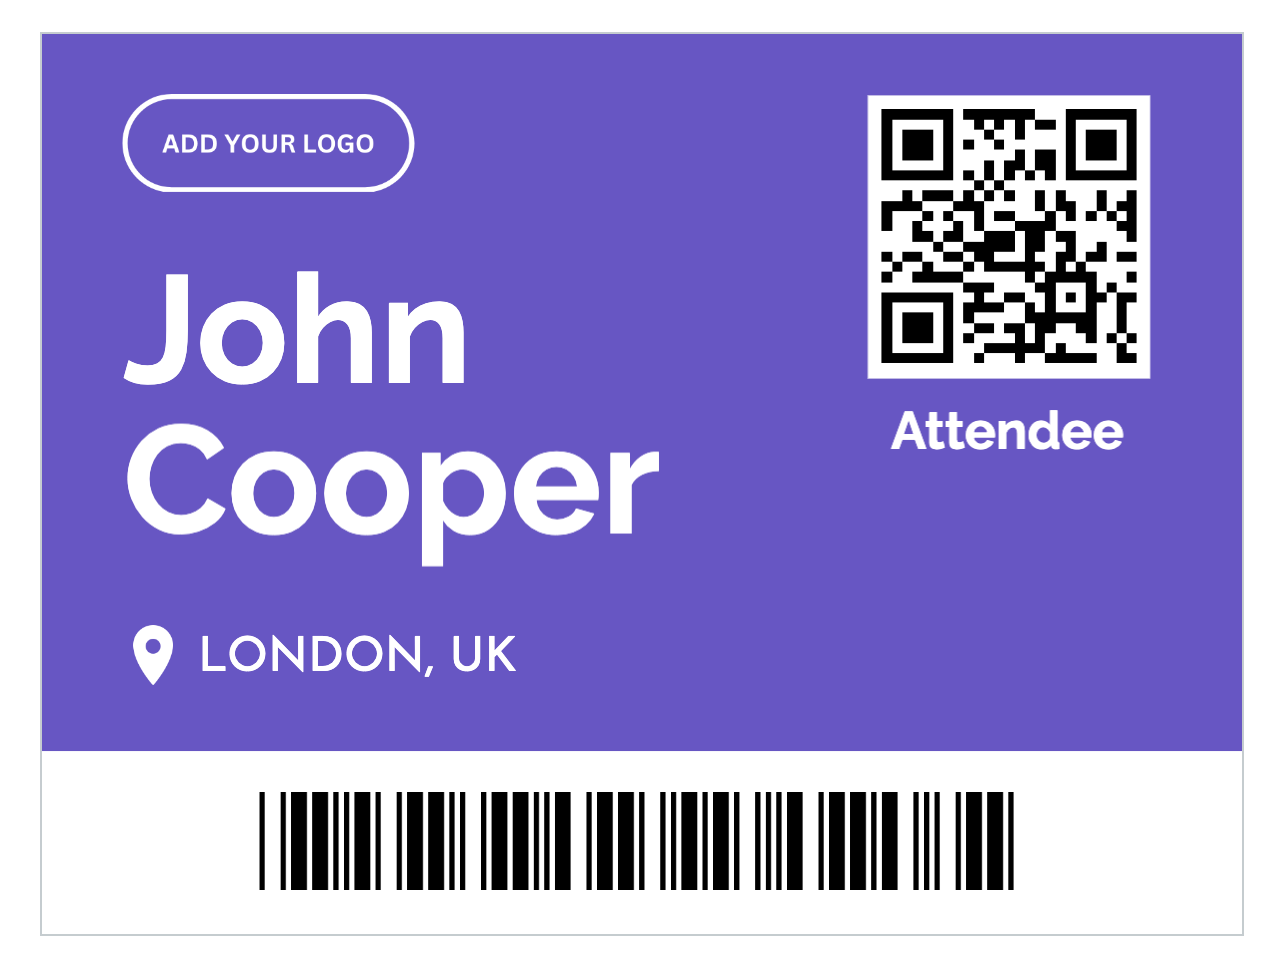
This guide explains what to encode, how big the code should be to actually scan, and a straightforward workflow to generate print-ready badge PDFs from a spreadsheet/CSV (no Word mail merge gymnastics required).
If you already have your attendee list in a spreadsheet, you can turn it into scannable badges in minutes with BadgeFlow.
Why put QR codes or barcodes on badges?
- Fast check-in: scan a code instead of typing names on a tiny phone keyboard.
- Cleaner data: scanning reduces typos and duplicate entries.
- Lead capture: exhibitors can scan badges to collect attendee details (with consent).
- Access control: scan to validate entry to workshops, VIP areas, or meals.
- Self-service: attendees can scan their own badge at kiosks or entry points.
In 2026, most events use QR codes (2D) rather than classic 1D barcodes, because they scan reliably from phones, tolerate more damage, and store more information.
QR code vs barcode on badges: which should you use?
Here’s the practical answer:
- Use a QR code if you’re scanning with phones/tablets, want reliable scans, or need to encode a URL/ID.
- Use a 1D barcode if you’re using legacy barcode scanners or systems built around Code 128/EAN formats.
Quick comparison
- QR (2D): best all-rounder for events, robust scans, works well with phone cameras.
- Barcode (1D): simple and small, but needs clearer alignment and often performs worse on glossy prints.
What should the code contain? (And what you should avoid)
Most organisers make one of two choices: encode a unique attendee ID or encode a URL.
Recommended: encode an attendee ID
Put a unique ID in the QR/barcode (e.g. ATT-00019384). Your check-in or scanning system uses that ID to look up the attendee.
- Best for privacy: you’re not printing personal data inside the code.
- Best for flexibility: you can change attendee details without changing the code.
- Best for scale: short IDs scan quickly.
Also common: encode a URL
For example: https://yourdomain.com/checkin?att=ATT-00019384 or a short link that redirects.
- Great if you want scanning to open a web page (lead capture form, profile, ticket validation page).
- Use a short URL to keep QR complexity low (simpler = more scannable).
Avoid: embedding personal data in the code
Try not to encode full names, email addresses, phone numbers, or anything sensitive directly inside the code. If a badge is lost, that data is effectively public.
Rule of thumb: encode an ID or URL, keep personal data in your system.
How to generate badges with QR codes/barcodes from a spreadsheet (step-by-step)
This workflow assumes you have a list of attendees in Excel / Google Sheets / CSV. You can also use exports from event platforms (Eventbrite, Tito, Meetup, etc.) as long as you can download a CSV.
If your source file is already in Excel, the broader name badges from Excel guide and print name tags from Excel walkthrough cover the non-scannable parts of the same workflow.
Working from an event platform export? See the dedicated guides for Eventbrite name badges, Cvent name badges, Bizzabo name badges, and Universe.com name badges.
Step 1: Prepare your attendee spreadsheet
At minimum, you’ll want columns like:
FirstNameLastNameCompany(optional)Role(optional)BadgeCode(this will become your QR code / barcode value)
If you don’t already have a unique code per person, create one. Examples:
- ID pattern:
ATT-0001,ATT-0002, … - UUID: long but unique (not ideal for scanning speed)
- Ticket/order ID: from your ticketing platform
Tip: keep the code short and consistent. Scanners (and humans) like that.
Step 2: Import your Excel and map your code field
- Open BadgeFlow.
- Upload your Excel.
- Map the
BadgeCodecolumn to a QR code, Barcode 39 or Barcode 128 field.
Step 3: Preview a few real badges before generating the whole PDF
Check:
- The name doesn’t overflow (especially long surnames).
- The code is not too close to the edge.
- There’s enough contrast between code and background.
- The code isn’t accidentally layered under a logo or coloured block.
For layout hierarchy, font sizing, and readable badge structure, use the conference name badge design guide before locking the template.
Step 4: Export a print-ready PDF
Generate a single PDF with all badges laid out for printing. Pick the right paper size (A4 vs Letter) and badge stock settings.
- UK/EU: typically A4
- US: typically Letter
Step 5: Print and test scan (seriously, do this)
Print one page and scan 3–5 badges under real-ish conditions: normal lighting, slightly angled scans, and the phone model your volunteers will actually use.
If you’re trying to control costs while testing, compare options in Printing Event Badges on a Budget. If you’re using a specific Avery® sheet, the Avery® 5390 badge printing guide is a useful companion.
Badge barcode/QR code printing rules (so it actually scans)
Scannability is mostly about size, contrast, and quiet zone. Ignore these and you’ll have a queue. Follow them and you’ll look like you run events for a living.
Recommended QR code size on badges
- Minimum: 18–20 mm wide
- Safer: 22–30 mm wide (especially for glossy badge stock or dim venues)
Quiet zone (the “don’t put stuff here” border)
- Leave a clean margin around the QR code (no text, no lines, no background pattern).
- As a rule: at least 2–4 mm clear space around the code.
Contrast matters
- Black code on white is best.
- Avoid light grey codes, coloured codes, or codes placed on gradients/textures.
- If you want brand colours, put them around the code, not in it.
For events where badge colours signal teams, access levels, or attendee roles, the branded badges for company offsites guide has practical examples.
Placement tips
- Don’t put the code too close to the badge edge (cropping happens).
- Avoid folds/creases if your badge stock is perforated or folded.
- If badges go in plastic holders, ensure glare isn’t wrecking scans (bigger QR helps).
1D barcode specifics
- Give it more horizontal space than you think.
- Keep it perfectly high-contrast and on a flat, unpatterned background.
- Prefer Code 128 for alphanumeric IDs (common in event systems).
Common use cases (and what to encode)
1) Fast check-in
- Encode: attendee ID or ticket ID
- Scan with: check-in app or simple scanning tool that matches IDs to a list
2) Session tracking
- Encode: attendee ID
- Scan: at room entry, log attendance per session
3) Exhibitor lead capture
- Encode: short ID or URL to a consent-based lead form
- Tip: don’t embed private contact details in the code
4) Badge reprints on-site
- Encode: attendee ID
- Scan: find attendee instantly, reprint badge without searching by name
For a practical small-event workflow with on-site edits and reprints, see Developer Meetup Badges Made Simple with BadgeFlow.
GDPR-friendly tips for scannable badges
(Not legal advice — just sensible event ops hygiene.)
- Minimise: encode an ID, not personal data.
- Purpose-limit: use scanning for check-in/access/lead capture only as communicated to attendees.
- Consent: if exhibitors scan for leads, make sure attendees understand what’s being collected and why.
- Retention: don’t keep scan logs forever “just in case”.
FAQ
What’s the best code type for event badges?
For most events: QR codes. They scan reliably from phones and tolerate real-world wear (lanyards, glare, slightly crumpled corners).
How big should a QR code be on a name badge?
Aim for 22–30 mm wide for reliable phone scanning. You can go smaller, but you’re trading space for queue time.
Should I use the ticket QR code from my ticketing platform?
You can, as long as your scanning/check-in workflow expects that exact value. Often it’s cleaner to encode your own attendee ID and keep ticket IDs in your backend or spreadsheet.
Can I generate QR codes from Excel or a CSV?
Yes. The simplest approach is: add a BadgeCode column in your sheet, export to Excel or CSV, then generate badges with a QR element bound to that field. That’s exactly the kind of workflow BadgeFlow is built for. For a larger event data structure, see the attendee spreadsheet template for large conferences.
Why aren’t my badge QR codes scanning?
- The code is too small (common).
- Not enough contrast (grey on colour, or on a pattern).
- No quiet zone (text/logos too close).
- Print quality is low (draft mode, ink saving, streaks).
- Glare from plastic holders (make the code bigger, avoid glossy prints if possible).
Should the code be on the front or the back of the badge?
Front is most common for quick scans (check-in, session entry). If you’re worried about privacy, encode an ID and keep personal data off the code.
Related reading: How to print name badges from Excel (step-by-step) · Eventbrite attendee export → badges workflow · A4 vs Letter badge printing: what organisers get wrong · Eventbrite badge printing options · conference badge design tips · QR codes on conference badges