
Event Badge Sizes by Event Type
Direct answer: use a compact 4×3-inch or A7 badge for meetups and simple workshops; move to 4×6 inches or A6 for conferences, trade shows and multi-day events that need attendee type, access details, QR codes or sponsor branding. Always verify the holder's insert and visible-window sizes.
This page recommends sizes by event type. For the definitive standard-size conversion and selection pillar, use the standard conference badge size guide. For print tolerances, precise conversions and holder-fit notes, use the conference badge dimensions specification.
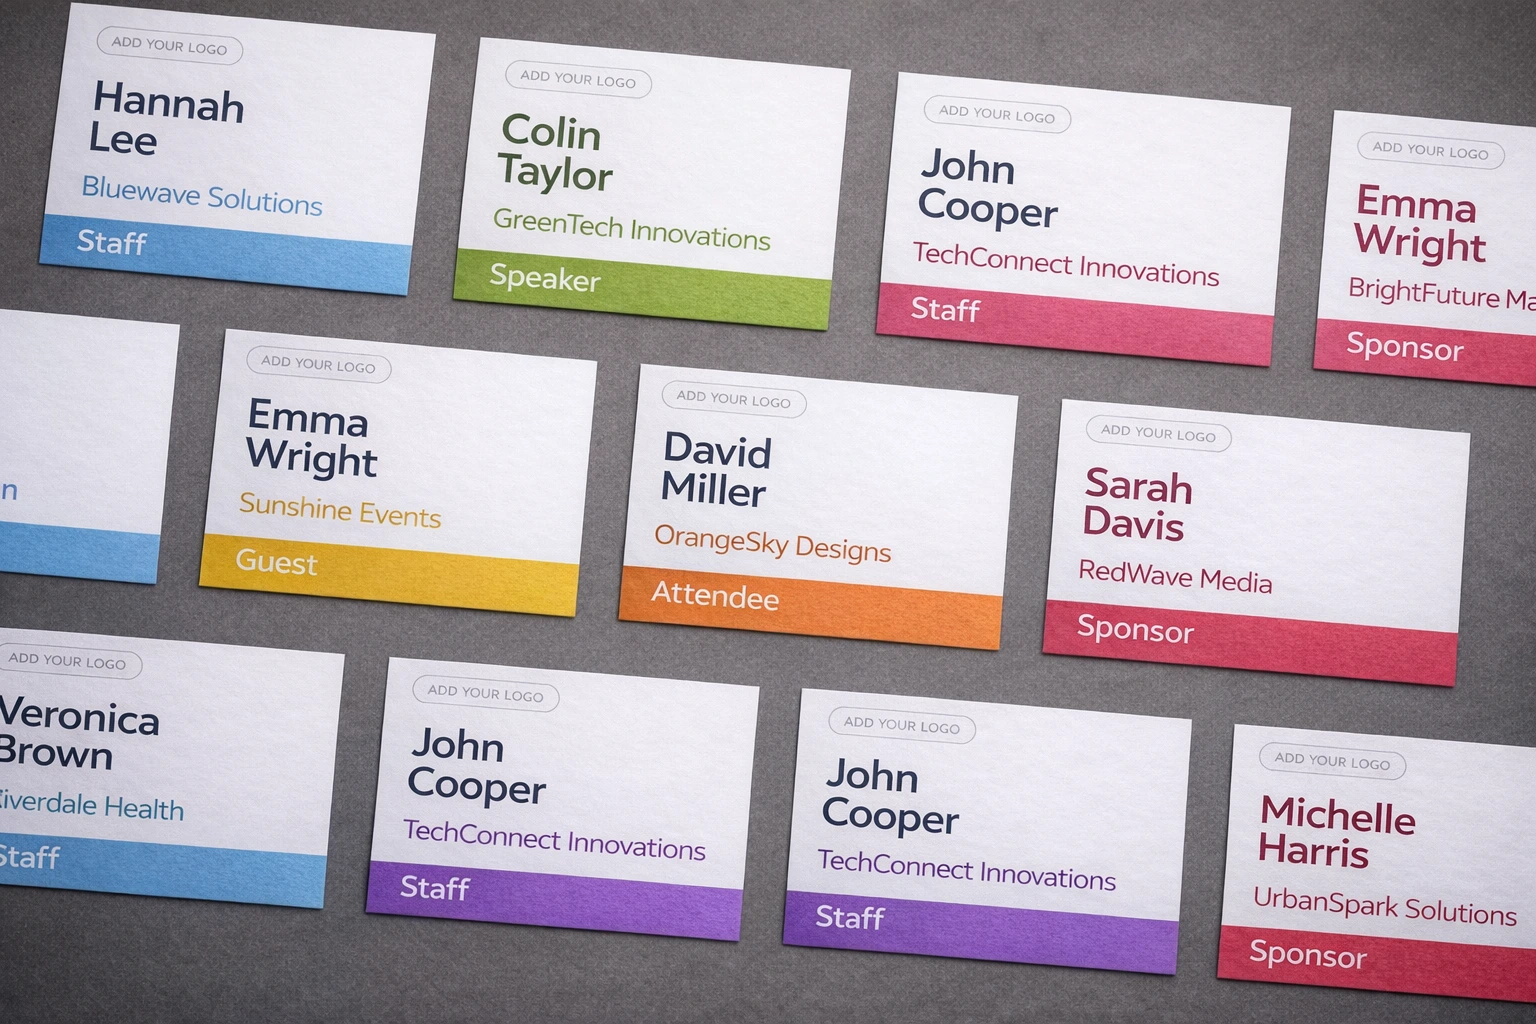
Quick answer: the most common event badge sizes
If you just want the short version, these are the sizes most event organizers end up choosing:
| Size | Inches | Millimeters | Best for |
|---|---|---|---|
| A7 | 2.9 × 4.1 in | 74 × 105 mm | Minimal information, small meetups, simple name badges |
| 4 × 3 | 4 × 3 in | 102 × 76 mm | Standard event badges with name, company, role |
| A6 | 4.1 × 5.8 in | 105 × 148 mm | Conferences, sponsor logos, agendas, larger QR codes |
| 4 × 6 | 4 × 6 in | 102 × 152 mm | Multi-day conferences, trade shows, events with more content |
A simple rule works for most cases:
- Choose 4 × 3 or A7 if you only need the attendee’s name, company, and maybe a short role.
- Choose 4 × 6 or A6 if you need a QR code, sponsor branding, access level, large text, or extra event details.
The “standard” sizes and when each one wins
There is no single worldwide standard badge size for every event, which is why organizers often get conflicting answers. In practice, a few formats have become the default because they are readable, easy to print, and widely supported by badge holders and event suppliers.
4 × 3 / A7 for minimal info
A 4 × 3 inch badge is one of the most common choices for general events. It gives you enough room for:
- first and last name
- company name
- job title or attendee type
- a small logo or simple QR code
It feels compact without looking tiny, which makes it a good fit for networking events, small conferences, internal company events, meetups, and workshops.
A7 is slightly smaller and often used in Europe or by organizers who want a more compact insert. It works best when the layout is clean and the amount of text is limited.
Choose this smaller group of sizes when:
- your priority is simplicity
- the badge only needs a few text fields
- you want to reduce print costs or paper waste
- you are using a minimalist design
The main risk with smaller badges is trying to fit too much onto them. Once you add long names, job titles, logos, QR codes, and sponsor elements, they can start to look cramped fast.
4 × 6 / A6 for QR codes, sponsors, and multi-day conferences
A 4 × 6 inch badge gives you much more freedom. It is especially useful when the badge needs to do more than just identify the attendee.
This size is often the better choice for:
- multi-day conferences
- trade shows
- exhibitions
- events with check-in scanning
- badges that include sponsors or colored sections
- events where badges must be readable from farther away
With more vertical space, you can use larger fonts, bigger QR codes, clearer role labels, and cleaner spacing. That usually means fewer printing mistakes and fewer complaints onsite.
A6 is very close in overall footprint and is a practical option if you work with A-series paper sizes or suppliers using metric dimensions.
Choose this larger group of sizes when:
- you need scannable QR or barcode areas
- branding matters
- readability matters more than compactness
- your attendee data includes multiple fields
- you expect many reprints or onsite handling and want the design to stay forgiving
Common large-format mm sizes used by event badge suppliers
If you work with badge holders, pre-cut inserts, or specialist event suppliers, you will often see sizes listed in millimeters, not inches.
Some commonly seen event badge dimensions include:
- 74 × 105 mm (A7)
- 105 × 148 mm (A6)
- 102 × 76 mm (4 × 3 converted)
- 102 × 152 mm (4 × 6 converted)
- 90 × 60 mm
- 86 × 55 mm
- 140 × 90 mm or similar large-format event inserts
The important thing is not whether a size looks “official.” It is whether it fits your holder, prints cleanly, and gives you enough space for the content.
That is why many organizers end up using custom badge dimensions even when they start from a “standard” size. BadgeFlow supports custom badge sizes, so you are not locked into one format if your printer, holder, or supplier uses a slightly different insert dimension.
Badge holder vs insert size: the common mistake
One of the most common badge printing mistakes is mixing up the badge holder size with the insert size.
These are not always the same.
For example, a badge holder might be sold as 90 × 60 mm, but the printable insert that fits inside could be a few millimeters smaller. If you design the badge at the holder’s outer dimensions, the insert may be too tight, get cropped, or shift awkwardly inside the holder.
Before you print, confirm all three of these:
- Visible area – what can actually be seen through the front of the holder
- Insert size – the paper size that fits properly inside
- Orientation – portrait or landscape
This matters even more if you are ordering holders and printing inserts separately.
A good rule: Always design to the insert size, not the outer holder size.
If you are unsure, print one sample first, cut it, place it in the holder, and check fit, margins, text safety, QR code visibility, and how much of the design is actually visible once inserted.
Readability rules: font sizes, contrast, and scanning
The right event badge size is not only about dimensions. It is also about whether people can actually read and scan the badge. For a deeper layout walkthrough, see our guide to designing conference name badges.
A few practical rules help a lot:
Make the attendee’s first name the hero
For most events, the first name should be the biggest element on the badge. That is what people look for first in conversations.
Do not shrink text to save a bad layout
If the text only fits because you reduced it too much, the badge is too small for that content. Move to a larger size instead.
Use strong contrast
Dark text on a light background is usually safest. Low-contrast trendy designs may look nice on screen but can fail badly in print and under venue lighting.
Give QR codes enough space
If you need a QR code or barcode, do not treat it like a decorative corner element. Leave enough size and white space around it so scanners can read it easily.
Keep layout hierarchy simple
Most badges only need:
- name
- company
- role or attendee type
- QR/barcode
- optional logo
Anything beyond that should be added only if it serves a real operational purpose.
Decision tree by event type
If you still are not sure which badge size to choose, this quick decision guide usually works.
Meetups and small networking events
Use 4 × 3 or A7.
Why:
- limited info
- lower print volume
- simple layouts
- quick badge production
Workshops and internal company events
Usually 4 × 3. Move to A6 only if you need larger branding, role labels, or scanning.
Conferences
Start with 4 × 6 or A6.
Why:
- more attendee data
- sponsor visibility
- clearer names from a distance
- better room for QR codes and color-coded sections
Trade shows and exhibitions
Usually 4 × 6 or another large-format size.
Why:
- people need to identify roles quickly
- badges may include company names, booth categories, VIP access, or lead capture codes
- higher visibility matters
Multi-day events
Choose 4 × 6 or A6.
These events often benefit from:
- bigger text
- more durable layouts
- room for agenda notes, zones, or access indicators
Printing considerations: paper size, crop marks, and test prints
Even the right badge size can fail if the print setup is wrong. Before you print a full batch, check the production side too. If you are comparing DIY printing with other options, read our guide to printing event badges on a budget.
Match the badge to the paper plan
Think about how your badge size fits on the paper you will use, whether that is A4, US Letter, pre-cut insert sheets, label stock, or custom sheets from a print supplier.
A practical badge size is one that works well both for attendees and for print layout efficiency.
Use bleed only if your print process needs it
If badges will be trimmed manually or professionally cut, you may want bleed and crop marks. If you are printing on pre-cut stock, those are usually unnecessary.
Leave safe margins
Keep important text away from the edges. Names, company fields, and QR codes should not sit too close to trim lines or holder edges.
Always run a test print
Before producing 100, 500, or 2,000 badges, test:
- one real printed sheet
- one cut insert in a holder
- one QR scan from a phone
- readability from a short distance
This catches problems much earlier than checking only on screen.
Expect last-minute changes
Events often have no-shows, late registrations, reprints, and updated attendee data. Choose a badge size and workflow that lets you reprint quickly without redesigning everything.
If your attendee list lives in a spreadsheet, our name badges from Excel guide shows a practical workflow, and our mail merge vs online badge generator comparison explains why many event teams move away from manual Word-based setups.
The fastest way to choose the right event badge size
If you want the simplest answer possible, use this:
- Use 4 × 3 if your badge is mainly for identification.
- Use 4 × 6 if your badge also needs scanning, branding, or more information.
- Use A7 or A6 if you prefer metric sizing or work with suppliers using A-series formats.
- Check insert size before designing, especially if you are using holders.
- Print one test badge first, no matter how confident you feel.
That is usually enough to make a good decision quickly.
The best event badge size is not the one that sounds most standard. It is the one that keeps your badge readable, printable, and easy to use on the day of the event.
If your badge setup is conference-heavy, also read our conference badge size article for a more conference-specific breakdown.
FAQ: event badge size
What is the standard event badge size?
The most common event badge sizes are 4 × 3 inches and 4 × 6 inches. In metric formats, A7 and A6 are also popular.
What is event badge size in mm?
Common event badge sizes in millimeters include:
- 102 × 76 mm for 4 × 3
- 102 × 152 mm for 4 × 6
- 74 × 105 mm for A7
- 105 × 148 mm for A6
Is 4 × 3 or 4 × 6 better for conferences?
For most conferences, 4 × 6 is better because it gives more room for larger names, QR codes, sponsor logos, and clearer spacing.
What is the difference between badge holder size and insert size?
The holder size is the outer product size. The insert size is the actual paper size that fits inside. You should design for the insert size, not the outside dimensions of the holder.
Which badge size is best for QR codes?
Usually 4 × 6 or A6. Larger badges make it easier to keep the QR code big enough and leave enough white space for reliable scanning.