
How to Print Event Badges with Zebra Printers
Zebra ZD421 and ZD621 printers are strong choices for four-inch roll-fed conference badges. Successful printing depends on the exact printer variant, stock, sensor mode, calibration and PDF page size—not simply selecting a Zebra queue and pressing Print.
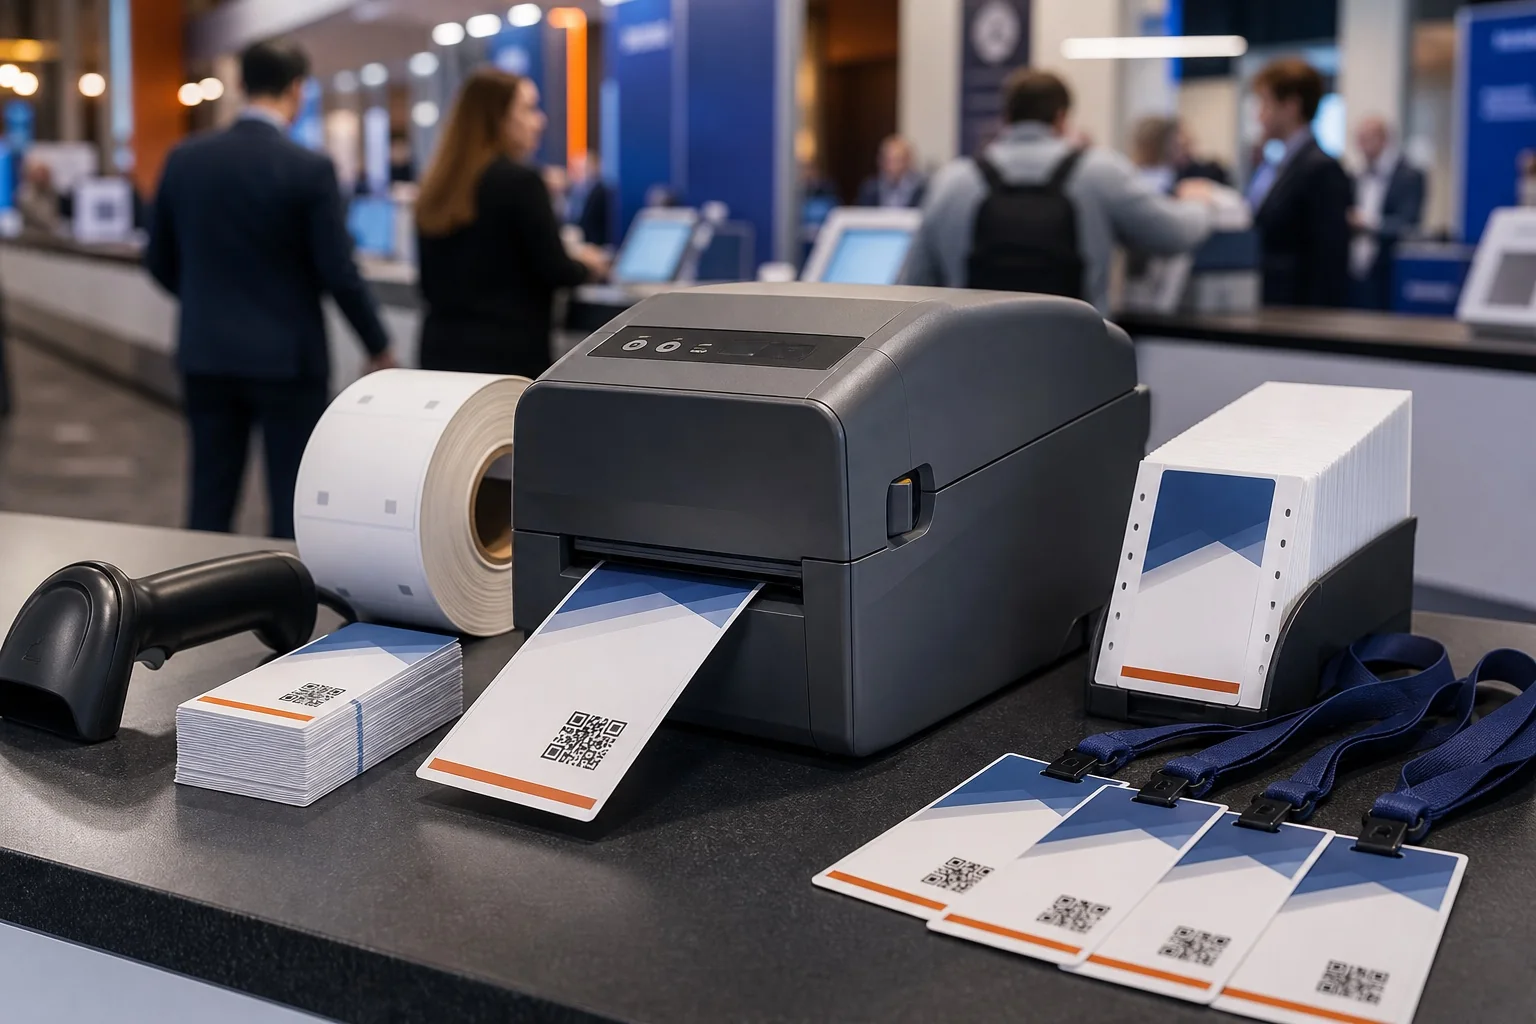
- ZD411: compact two-inch class for narrow labels.
- ZD421: balanced four-inch desktop option; up to about 104 mm print width at 203 dpi.
- ZD621: higher-performance four-inch desktop option.
- ZT industrial series: centralised high-volume production when a desktop roll and duty cycle are insufficient.
Before ordering stock, compare its dimensions with the conference badge dimensions guide. A 4 × 6-inch badge has a 101.6 mm short edge, which may fit a four-inch printhead, while A6 has a 105 mm short edge and can exceed a 104 mm printable width in that orientation.
Zebra models for event-badge workflows
| Model family | Print-width class | Resolution and listed speed | Best event role | Main limitation |
|---|---|---|---|---|
| ZD411 | About 56 mm at 203 dpi | 203 or optional 300 dpi | Narrow visitor labels and compact codes | Too narrow for most conference passes |
| ZD421 | 104 mm at 203 dpi; up to 152 mm/s at 203 dpi | 203 or optional 300 dpi | General four-inch conference badge stations | Requires calibrated roll media |
| ZD621 | 104 mm at 203 dpi; up to 203 mm/s at 203 dpi | 203 or optional 300 dpi | Higher-demand registration desks | Higher tier; engine speed is not attendee throughput |
| ZD621R/ZD611R | RFID-capable variants | Model-dependent | Encoding and printing supported RFID media | Requires validated RFID stock and software integration |
| ZT industrial family | Industrial four/six-inch classes | Model-dependent | Central production and large rolls | Larger, more expensive and operationally specialised |
Choose the exact printer variant
The same model family can be sold in direct-thermal, thermal-transfer, healthcare, RFID and different connectivity configurations. Record the full part number. A driver configured for a 300 dpi thermal-transfer unit is not an adequate proxy for a 203 dpi direct-thermal unit.
Direct thermal or thermal transfer?
| Decision | Direct thermal | Thermal transfer |
|---|---|---|
| Consumables | Thermal stock only | Stock plus ribbon |
| Event lifespan | Usually suitable for short events | Better for longer life and harder handling |
| Setup | Simpler | Ribbon/media matching and loading |
| Colour | Normally monochrome | Typically one ribbon colour at a time |
| Heat/light resistance | Stock dependent; can be vulnerable | Often stronger with suitable materials |
| Best BadgeFlow use | One badge per PDF page printed at check-in | Durable attendee or staff credentials |
For a broader technology decision, use the thermal versus laser versus inkjet badge printing guide.
203 dpi versus 300 dpi
Choose resolution from the smallest essential element. A large attendee name and a sensibly sized QR code can work at 203 dpi. A dense Code 128 barcode, small legal text or detailed logo may benefit from 300 dpi. Higher resolution can have a lower maximum engine speed and does not rescue a code that is physically too small.
Use the barcode versus QR code comparison to choose the symbology before choosing resolution. Then test the output with the actual scanner.
Understand Zebra media sensing
Gap or notch media
A transmissive sensor detects the gap or notch between badges. The media definition and sensor position must match the stock.
Black-mark media
A reflective sensor detects a printed mark on the reverse or designated surface. Incorrect mark dimensions or sensor alignment can cause skipped badges.
Continuous media
The printer relies on a defined page length and may use a cutter or tear position. The PDF page height, driver height and cut setting must agree.
Fan-fold media
Fan-fold stock feeds through the rear slot and can support larger external supplies. Protect the path from attendee traffic and avoid pulling the stock sideways.
Badge-size compatibility
| Badge format | Dimensions | ZD421/ZD621 fit consideration | Recommendation |
|---|---|---|---|
| 4 × 3 in | 101.6 × 76.2 mm | Both edges are below 104 mm in one orientation | Good candidate with compatible stock |
| 4 × 6 in | 101.6 × 152.4 mm | 101.6 mm width is close to four-inch class | Common roll format; verify safe margins |
| A7 | 74 × 105 mm | 74 mm width fits; 105 mm width may not fit a 104 mm head | Use 74 mm across printhead |
| A6 | 105 × 148 mm | 105 mm short edge exceeds 104 mm at 203 dpi | Use wider printer or different orientation/format |
| CR80 | 85.60 × 53.98 mm | Width can fit, but rigid cards do not use normal label path | Use a card printer for rigid PVC |
| 90 × 60 mm insert | 90 mm width fits | Non-adhesive stock and holder assembly require testing | Good potential roll or fan-fold size |
After choosing the format, confirm the holder’s visible window using the badge holder size guide.
Prepare the attendee data
For high-volume output, start with bulk badge printing from Excel and use stable fields such as attendee ID, badge type, print batch and QR token. The attendee spreadsheet template for large conferences provides a structure for staff, speaker, exhibitor and sponsor badges.
Step-by-step: BadgeFlow PDF to Zebra printer
- Confirm the full Zebra model, resolution and direct-thermal or thermal-transfer variant.
- Select and physically test the media, including gap, notch or black mark.
- Install the current Zebra driver and utilities on every event laptop.
- Set the BadgeFlow canvas to the exact finished badge dimensions.
- Import the attendee file and map identity, role and code fields.
- Design for monochrome output with strong contrast and adequate margins.
- Export one badge per PDF page.
- Set driver width and height to match the PDF.
- Select the correct media sensing mode.
- Choose actual size or 100% in the PDF viewer.
- Select conservative speed and darkness settings for the stock.
- Calibrate the printer after loading or changing media.
- Print a validation group with long names, accented characters and all codes.
- Measure, scan and wear-test the completed badge in its holder.
- Save the approved driver, calibration and print settings.
Designing a badge for thermal output
- Keep the attendee name large and black.
- Use solid high-contrast role labels instead of subtle colour differences.
- Avoid large black fills until darkness and ribbon consumption are tested.
- Keep QR-code modules square and preserve a clean quiet zone.
- Orient one-dimensional barcodes so their bars remain clean across the print direction.
- Use a safe area inside the tested printable width.
- Preview realistic long names rather than only sample names.
Read QR codes and barcodes on name badges for code sizing and print tests.
Calibrate the printer correctly
Calibration teaches the printer where one badge ends and the next begins. Recalibrate when you change stock dimensions, sensor mode or material. If several blank badges feed, first check that the driver and printer both expect the same media type.
| Symptom | Likely calibration or media cause | Action |
|---|---|---|
| Feeds several blank badges | Wrong sensor mode or cannot see gap/mark | Select correct mode, reposition sensor and calibrate |
| Print drifts down the roll | Page length differs from physical badge pitch | Match driver/PDF length and recalibrate |
| Tear line is misplaced | Tear-off or cutter offset is wrong | Adjust after dimension and calibration are correct |
| Stops with media error | Sensor cannot detect stock | Inspect gap/mark contrast and sensor position |
| Every second badge is wrong | Driver page height equals two badge pitches or includes gap incorrectly | Set exact finished length and validate |
Configure speed and darkness
The fastest setting is not automatically the best. Zebra notes that slower speed can improve print quality. Begin with the stock supplier’s recommendation, then use a small test matrix. Excess darkness can spread barcode bars and overheat the media; insufficient darkness creates faint text and broken code modules.
Networked registration setup
Use identical model, resolution, stock and driver settings at every normal station. Give each printer a visible name and label its cables. Keep one “golden station” unchanged for comparison. The onsite badge printing guide covers the broader check-in process.
| Connection | Use | Control |
|---|---|---|
| USB | Direct station-to-printer path | Label cables; prevent operator swapping |
| Ethernet | Shared stable venue network | Reserve addresses and test switch ports |
| Wi-Fi | Flexible placement | Test congestion and keep wired fallback |
| Bluetooth | Specialised mobile workflow | Validate supported app and operating system |
Zebra badge-printing troubleshooting
| Problem | Likely cause | Fix |
|---|---|---|
| Right edge is clipped | Design exceeds printable width | Reduce canvas/content width or rotate the badge |
| Badge is tiny | PDF fit or wrong unit conversion | Use actual size and verify mm/in settings |
| Skips labels | Sensor mode or calibration | Select media type and recalibrate |
| Vertical drift | Wrong badge pitch/page length | Match PDF and driver height |
| QR code is blurred | Speed, darkness or scaling | Slow print, tune darkness, print at 100% |
| Barcode fails | Bars spread, insufficient resolution or wrong orientation | Increase size, adjust settings or use 300 dpi |
| Ribbon wrinkles | Ribbon path or media mismatch | Reload correct ribbon and inspect tension |
| Output is too dark | Darkness excessive | Reduce darkness and retest scanners |
| Output is faint | Darkness too low or stock unsuitable | Increase within supplier range or change media |
| Queue stalls | Network/spooler or oversized jobs | Test local USB and split controlled batches |
| Wrong badge repeats | Print job or PDF page selection error | Clear queue and verify selected page range |
ZD421 or ZD621?
| Requirement | ZD421 | ZD621 |
|---|---|---|
| General conference desk | Strong default | Also suitable |
| Higher listed engine speed | Up to 152 mm/s at 203 dpi | Up to 203 mm/s at 203 dpi |
| Budget sensitivity | Lower tier | Higher tier |
| Redundancy strategy | Two or more identical units can be resilient | Useful when performance headroom matters |
| Small event | Often sufficient | May be unnecessary |
| Large event | Use multiple tested stations | Use multiple tested stations; do not rely on one printer |
For a broader buying decision, read the best Zebra printers for conference badge printing.
Large-conference operating model
- Separate normal check-in from corrections and replacements.
- Use one approved stock lot where possible.
- Maintain pre-calibrated spare printers.
- Store a local approved PDF and offline attendee export.
- Track reprints to prevent duplicate active credentials.
- Monitor stock by station before rolls run out.
- Follow the conference check-in and badge printing checklist.
Detailed Zebra driver configuration checklist
- Select the exact installed resolution; a 203 dpi and 300 dpi queue should not share unverified settings.
- Set physical width and height in one unit system and confirm the conversion.
- Choose direct thermal or thermal transfer consistently with the hardware and media.
- Set gap/notch, black mark or continuous sensing.
- Set tear-off, cutter or peeler mode.
- Choose speed and darkness from the stock supplier’s starting recommendation.
- Disable automatic scaling in the PDF viewer.
- Confirm that the printer has not retained an old page length from a previous job.
- Clear the operating-system queue before a major test.
- Save or document the known-good configuration.
Thermal-transfer ribbon selection
Thermal-transfer ribbons are commonly described as wax, wax/resin or resin. Suitability depends on the stock and durability requirement. A ribbon that prints well on paper may perform poorly on synthetic media. Use a supplier-approved combination and test abrasion, heat and scanner contrast.
| Ribbon family | Typical characteristic | Potential event use | Caution |
|---|---|---|---|
| Wax | Economical and often suited to paper | Indoor staff or attendee credentials | Lower resistance than stronger formulations |
| Wax/resin | Balance of print quality and durability | Multi-day passes and mixed handling | Requires compatible coated stock |
| Resin | High resistance on suitable synthetic media | Long-lived or demanding credentials | Higher cost and printer/media matching |
Security and credential-control considerations
A printed QR code is not automatically secure. Decide whether the code is merely an attendee lookup token or an access credential. Use random, revocable identifiers rather than predictable personal data. Track replacement badges and invalidate the old token when the surrounding check-in system supports it.
If the event requires RFID encoding, holographic security, tamper evidence or access control, involve the relevant platform and security supplier. A PDF design alone cannot deliver those controls.
Example Zebra event configurations
400-person professional association meeting
- Two ZD421 direct-thermal printers
- 4 × 3-inch die-cut stock
- 203 dpi with large QR code
- One printer active, one available for peak/redundancy
- Advance test batch and local PDF fallback
1,500-person industry conference
- Four to six identical ZD421 or ZD621 stations based on timed tests
- Separate exception station
- Pre-calibrated spare units
- Central stock and technical manager
- Ethernet or controlled local network
Multi-day staff and exhibitor credentials
- Thermal-transfer variant
- Supplier-approved synthetic media and ribbon
- 300 dpi only if smaller codes/text require it
- Wear and abrasion proof before production
Media acceptance test
- Inspect dimensions, roll core, outer diameter and winding direction.
- Confirm sensor mark or gap placement.
- Load and calibrate the printer.
- Print 20 consecutive badges at the proposed speed/darkness.
- Measure horizontal and vertical placement.
- Scan the first, middle and final badges.
- Wear a badge for several hours and inspect curling, scratching and code readability.
- Store stock for the expected venue conditions and repeat the test.
Maintenance and cleaning
Thermal printheads and platen rollers collect adhesive, coating and dust. Follow Zebra’s cleaning guidance and use approved materials. Clean before the event, after a contaminated roll and at the recommended interval. A damaged printhead can create a consistent white line through every QR code or barcode.
- Inspect the printhead for lines or debris.
- Clean the platen roller and media path.
- Check cutter operation and remove fragments.
- Inspect ribbon path on thermal-transfer models.
- Verify sensors are unobstructed.
- Keep media sealed and protected from dust.
Batch control and print auditing
Assign every approved file a version and every batch a range or count. Record the station, operator and reprint reason when access control matters. This reduces duplicate credentials and helps diagnose whether an error came from data, template, printer or stock.
Questions for a Zebra reseller or rental supplier
- What exact part number, resolution and print method is supplied?
- Which connectivity options are installed?
- Which media and ribbon have been tested?
- Are cutter or peeler options included?
- Will printers arrive calibrated?
- Are drivers and utilities provided for the event laptops?
- What spares and onsite support are included?
- What is the replacement response if a device fails?
- Can the supplier run a BadgeFlow PDF proof before dispatch?
Calibration standard operating procedure
- Confirm the driver and printer both use the same media type.
- Load stock squarely and position adjustable guides without crushing it.
- Place the sensor under the gap, notch or mark specified by the stock.
- Run the manufacturer’s media calibration procedure.
- Feed several badges and confirm each stop position.
- Print a measured test page.
- Adjust tear-off or cutter offset only after the page length is correct.
- Save the stock name and settings in the runbook.
Print-queue architecture
A large event can send one job per attendee or controlled batches. One-job-per-attendee simplifies corrections but creates many spooler transactions. Batches can improve engine utilisation but make it harder to interrupt or identify an individual badge. Test both approaches with the event laptop and network.
- Give each printer a unique visible queue name.
- Prevent normal operators from printing to a spare or exception queue accidentally.
- Clear failed jobs before swapping hardware.
- Keep a local test PDF that does not depend on attendee software.
- Document how to pause and resume a batch safely.
Offline and degraded-mode printing
Store an approved attendee export and badge PDF locally, subject to the event’s privacy controls. If the internet fails, the team may continue printing known attendees and reconcile check-ins later. Define who authorises offline operation and how duplicate check-ins are prevented.
Thermal badge layout templates
Networking layout
Large first name, surname, organisation and a compact QR code. Keep the role label at the edge in solid black or on pre-coloured stock.
Access layout
Large name, explicit text access level and code. Do not rely on colour because standard thermal output is monochrome.
Exhibitor layout
Name, company, booth number and lead-retrieval code. Keep booth and QR zones visually separate.
Staff layout
Large STAFF text, name, team and access level. Repeat critical role information on both sides if the badge can rotate.
Final Zebra preflight checklist
- Full part number and resolution confirmed
- Print method matches stock and ribbon
- Media sensing and sensor position confirmed
- Calibration completed
- Page width and length measured
- Speed and darkness approved
- Cutter/tear position approved
- Codes scan through holder
- Fifty-badge run completed
- Spare printer swap timed
- Offline file tested
Frequently asked questions
Is the Zebra ZD421 suitable for conference badges?
Yes. Its four-inch-class printable width suits many roll-fed event badges, provided the exact media, sensor mode, driver and PDF page size are correctly matched.
Should I choose direct thermal or thermal transfer?
Direct thermal is simpler for short-lived conference credentials. Thermal transfer is more durable but adds a ribbon that must be matched to the stock.
Is 203 dpi enough for QR codes?
Usually, when the QR code is adequately sized and high contrast. Use 300 dpi for smaller typography or dense one-dimensional codes, but validate the completed printed badge.
Can BadgeFlow generate ZPL?
No. BadgeFlow exports print-ready PDFs. You can print through the Zebra operating-system driver, but native ZPL integrations require another workflow.
Why does my Zebra printer skip badges?
Common causes are a mismatched media type, incorrect page length, sensor-position problems or missing calibration.
Does a 4-inch Zebra printer print all 4-inch badges?
Not automatically. The ZD421 is listed at about 104 mm print width at 203 dpi. Compare that with the actual badge orientation, safe margins and sensor requirements.
Which is faster, ZD421 or ZD621?
The ZD621 has a higher listed maximum engine speed. Real registration throughput may still be limited by attendee lookup, PDF handling, badge assembly and exceptions.
Can a Zebra print full-colour badges?
Standard ZD421 and ZD621 thermal models do not provide full-colour inkjet output. They print direct thermal or use a thermal-transfer ribbon.
Official Zebra references
Zebra, ZD421, ZD621, ZPL and Link-OS are trademarks of Zebra Technologies. BadgeFlow is not affiliated with, tested by or endorsed by Zebra Technologies.