
Badge Holder Size Guide for Events: Insert Size vs Holder Size
A holder’s advertised size may refer to the insert, visible window, internal pocket or outside dimensions. Confirm which measurement the supplier means before designing or ordering thousands of badges.
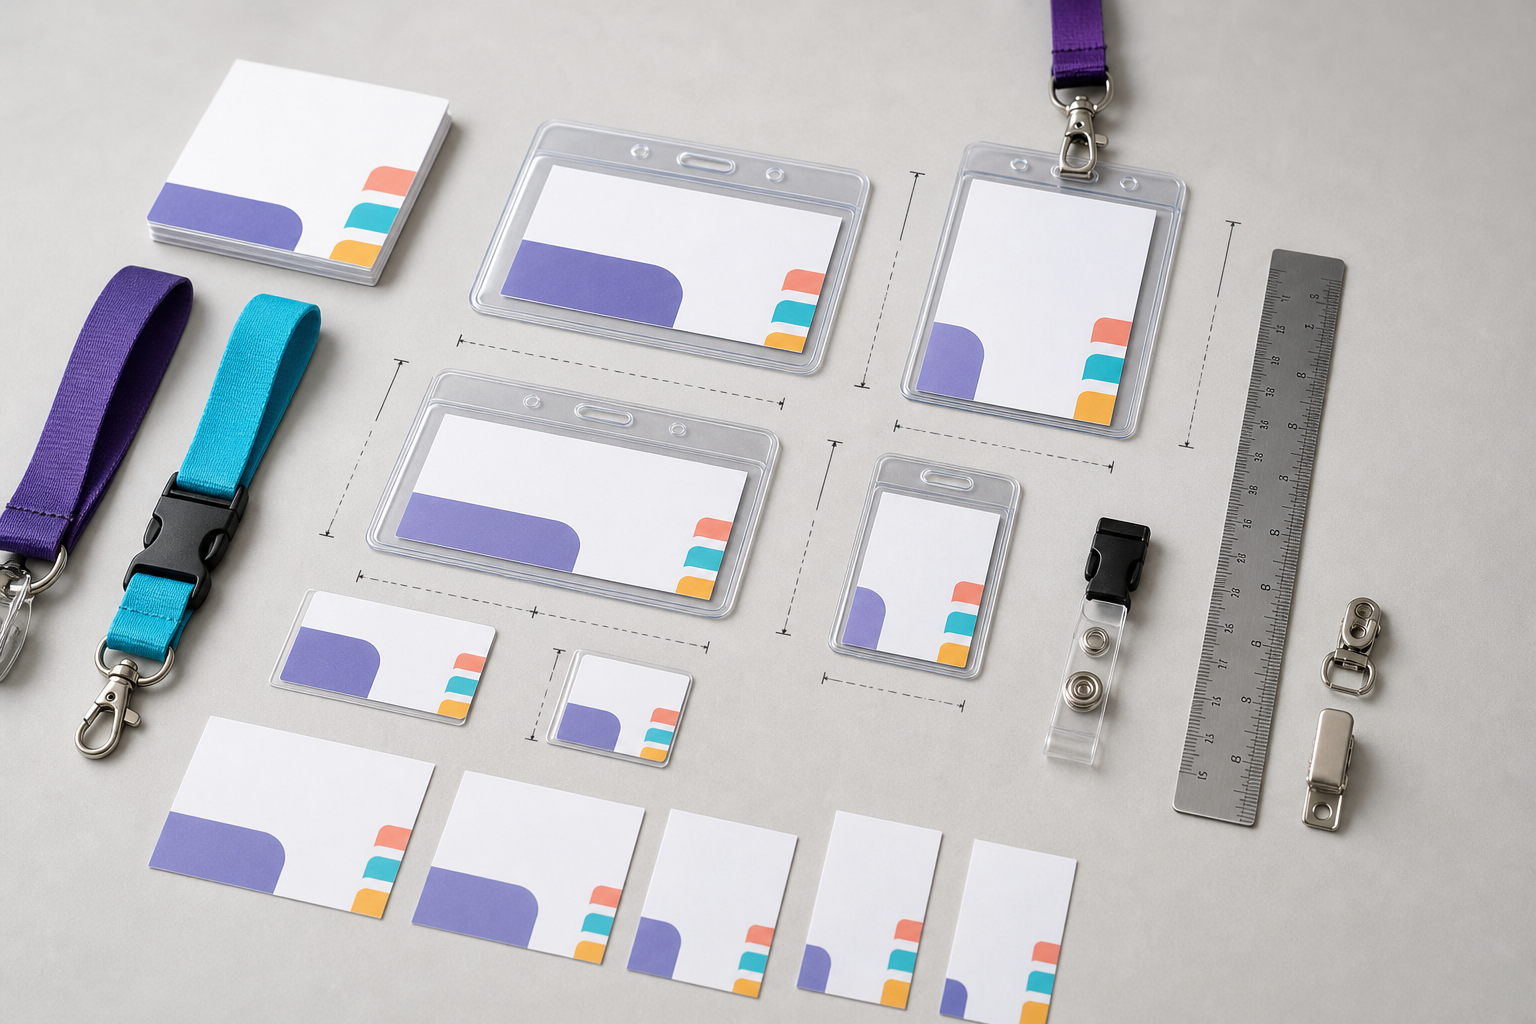
The four measurements you need
| Measurement | Meaning | Why it matters |
|---|---|---|
| Insert size | The dimensions of the printed card or paper placed inside. | This is normally the size used for the badge design. |
| Internal pocket size | The usable space inside the holder. | It must be large enough for the insert without excessive movement. |
| Visible window | The part of the insert visible after seams and borders. | Names and codes must stay within it. |
| External holder size | The complete physical holder including edges and attachment area. | Important for lanyard length, packing and wearer comfort. |
Why nominal holder sizes create mistakes
A product described as “4 × 6” may be intended for a 4 × 6 inch insert, but the external plastic is larger. Another supplier may describe the outside measurement. The visible area can be smaller because the welded seam overlaps the printed card.
Use the technical specification or physical sample instead of relying on the product title. When the supplier provides a design template, compare it with the actual holder before a full print run.
Common event badge formats
| Format | Dimensions | Typical use |
|---|---|---|
| 4 × 3 in | 101.6 × 76.2 mm | Names, organisations, roles and compact codes |
| 4 × 6 in | 101.6 × 152.4 mm | Large conference passes, schedules and sponsor space |
| A6 | 105 × 148 mm | Portrait delegate passes and European paper workflows |
| A7 | 74 × 105 mm | Compact event badges |
| CR80 | 85.60 × 53.98 mm | Rigid ID and access cards |
| 90 × 60 mm | 90 × 60 mm | Common UK/EU holder and insert family |
For conversions and selection guidance, see conference badge size, conference badge dimensions and event badge size.
4 × 3 inch holders
A 4 × 3 badge is compact enough for networking and large enough for a strong name hierarchy. Confirm whether the holder is portrait or landscape, because rotating the same insert changes the lanyard-slot relationship and available layout.
Keep the name away from the top-centre slot. If a QR code sits near the bottom, check that the pocket does not curve when worn.
4 × 6 inch holders
A 4 × 6 badge offers substantial space and is common for major conferences. It can include a schedule, sponsor area, access category or larger code. The extra size also makes poor hierarchy more obvious, so divide the badge into clear zones rather than filling every area.
A6 and A7 holders
A6 is close to a quarter of an A4 sheet and is useful for portrait passes. A7 is smaller and better suited to simplified content. Do not assume an A6 holder uses an exact A6 visible window; holder seams and closures can reduce the usable area.
CR80 cards
CR80 is the familiar payment-card format. It is suitable for rigid ID cards, access credentials and compact badges. It offers much less area than a 4 × 3 or 4 × 6 conference badge, so long names, multiple logos and large QR codes compete quickly.
Portrait versus landscape holders
| Portrait | Landscape |
|---|---|
| Works well for photos, long passes, schedules and vertical role bands. | Works well for prominent names and organisations. |
| Often hangs more naturally from a centred top slot. | Can rotate or tilt if the attachment point is poorly balanced. |
| Offers a taller zone for sponsor or access information. | Offers a wider line for long names and company names. |
Soft vinyl versus rigid holders
Soft holders are lightweight and inexpensive but can bend, reflect light and develop creases. Rigid holders protect cards and keep codes flat, but may cost more and require an exact card thickness.
If the badge will be scanned frequently, test how the holder behaves while worn. A code that is flat on a desk may curve on a person.
Top-loading and side-loading holders
Top-loading pockets are easy to fill but may allow an unsecured insert to move towards the opening. Side-loading designs can provide better retention, but a side seam may reduce the visible width. Some holders use zip closures or locking mechanisms for multi-day use.
Lanyard, slot and clip placement
- Measure the distance from the insert edge to the slot or clip.
- Keep critical content away from the attachment zone.
- Check whether the holder has one central slot or two side holes.
- Confirm that the lanyard clip fits the slot thickness.
- Use breakaway lanyards where required by venue or safety policy.
How to measure an existing holder
- Remove the current insert.
- Measure its width and height with a ruler or calliper.
- Measure the inside pocket rather than the outside plastic.
- Measure the visible opening between seams.
- Record portrait or landscape orientation.
- Mark the slot, clip and seam positions.
- Create and print a plain test rectangle at actual size.
How to read a supplier specification
Look for explicit labels such as “insert size”, “card size”, “inside dimensions” and “external dimensions”. If the listing gives only one measurement, ask the supplier what it represents. Product photos are not a reliable scale reference.
Safe areas for names and codes
Keep essential content comfortably inside the visible window. Leave more margin around QR codes and barcodes than around decorative elements. A holder border can visually crowd a code even when it does not physically overlap it.
Read QR codes on conference badges before finalising a scan area.
Double-sided badges
A clear two-sided holder can show different content on each side, but lanyards often rotate during use. If a name must always be visible, repeat the essential identity information on both sides rather than putting the name on one side and all operational content on the other.
Purchasing checklist
- Confirm insert dimensions.
- Confirm visible-window dimensions.
- Confirm portrait or landscape orientation.
- Check holder material and rigidity.
- Check loading direction and closure.
- Check slot or clip compatibility.
- Confirm whether the holder supports one or two cards.
- Order a sample before a large quantity.
- Print and scan a complete assembled badge.
Use the conference badge design guide to build a clear layout after the physical dimensions are confirmed.
Fit-test example
A supplier lists a holder as 90 × 60 mm. Before designing, you discover that 90 × 60 mm is the outside pocket size and the recommended insert is 86 × 55 mm. If you design a full 90 × 60 mm card, it may not enter the pocket or the seams may hide the edges. A plain physical rectangle printed at actual size would reveal the problem before the branded run.
Lanyard comfort and badge movement
Large badges are easier to read but can swing, rotate or hit the wearer while walking. Test the holder with the selected lanyard and typical clothing. Two attachment points can stabilise a wide landscape badge, while one central clip may allow it to rotate.
- Check total holder weight after adding inserts, ribbons or RFID cards.
- Choose a lanyard length that keeps the badge visible rather than at waist height.
- Use breakaway features where required.
- Check that the clip does not turn the badge backwards.
- Consider accessibility for people who cannot comfortably wear a neck lanyard.
Accessibility and readability
A technically fitting insert is not necessarily an effective badge. Larger visible windows support bigger names and clearer role labels. For networking events, prioritise a format that can display the name at a readable size rather than choosing the smallest holder for cost or convenience.
Offer alternative attachments such as clips or magnetic holders when appropriate. Avoid mandatory pin fasteners that can damage clothing or be difficult for some attendees to handle.
Order samples before bulk purchasing
Ask the supplier for a sample holder or buy the smallest available pack. Test:
- the insert dimensions and loading method;
- the visible window;
- lanyard and clip fit;
- glare under event lighting;
- QR and barcode scanning;
- comfort and rotation while worn;
- how easily staff can insert 500 or more badges.
The labour required to load a holder can be as important as its unit price. A secure closure may be valuable for a multi-day event but unnecessarily slow for a two-hour workshop.
Holder specifications to record
| Field | Example |
|---|---|
| Supplier and product code | Supplier X / BH-406P |
| Insert width × height | 101.6 × 152.4 mm |
| Visible window | 98 × 146 mm |
| Orientation | Portrait |
| Loading | Top, resealable |
| Attachment | Centred slot |
| Material | Clear soft vinyl |
| Approved test file | holder-406-proof-v2.pdf |
Frequently asked questions
What is the standard badge size for a lanyard?
There is no single global standard. Common event inserts include 4 × 3 inches, 4 × 6 inches, A6, A7 and card-sized formats around 85–90 × 54–60 mm.
Is a 4 × 6 badge holder exactly 4 × 6 inches outside?
Usually not. The label often refers to the insert or nominal pocket size. Seams, margins, the lanyard slot and external plastic make the holder larger.
What is a visible window size?
It is the area of the inserted badge that remains unobstructed by the holder’s borders, seams or attachment hardware. It can be smaller than the insert.
Can a credit-card-sized badge fit every CR80 holder?
CR80 cards have a standard nominal card size, but holder orientation, thickness, slot position and retention design still need checking.
How much safe area should I leave?
Use the holder manufacturer’s template where available. Otherwise keep important names, logos and codes comfortably inside the visible window and away from seams, slots and clips.