
How to Print Conference Badges with Brother QL Printers
Brother QL printers work best for compact direct-thermal name labels, visitor badges and exception-desk reprints. Narrow 62 mm models are not wide enough for many conventional conference passes, while the wide QL-1110NWBc can support media up to the four-inch class.
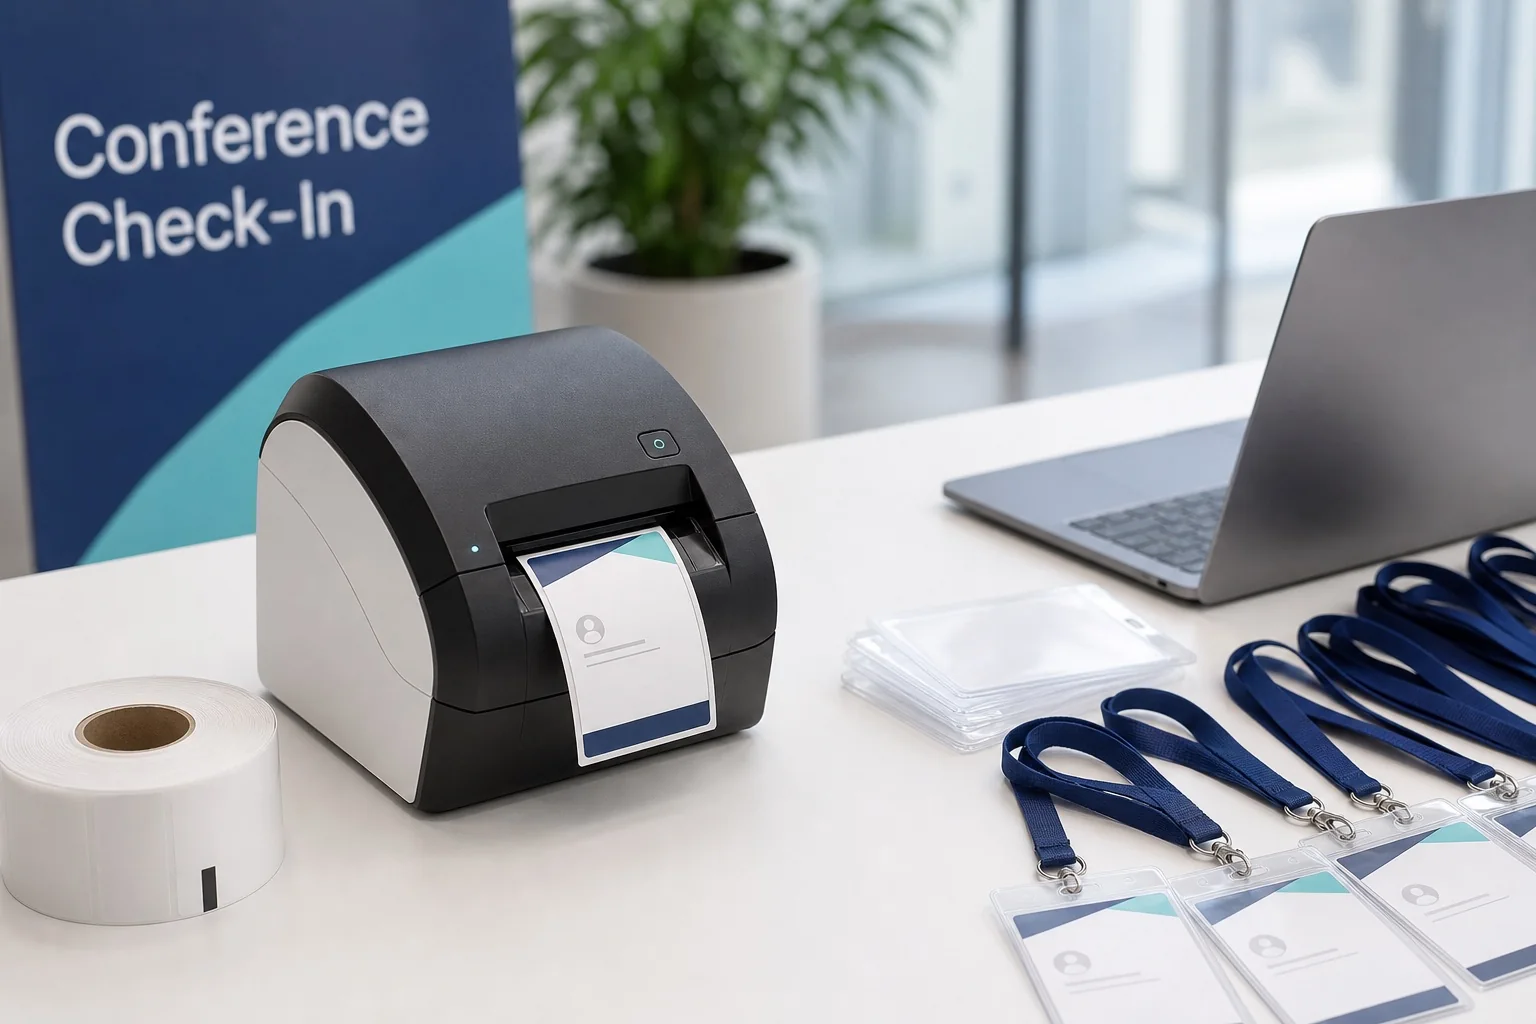
- QL-700/800/810/820 class: best for labels around 58–61 mm of printable width.
- QL-1110NWBc: listed at about 101.66 mm print width, making it relevant to wider badge designs.
- Output: direct thermal; normally monochrome, with selected black/red capability on compatible rolls.
- BadgeFlow workflow: export one label-sized PDF page per attendee, then print through the Brother driver at actual size.
Before choosing a roll, compare the intended credential with the exact conference badge dimensions. A 62 mm roll is not the same as a 4 × 3-inch pass, and a holder advertised as “4 × 3” may have a different visible window. Confirm the insert with the badge holder and insert-size guide.
Brother QL models relevant to event badges
| Model | Listed print capability | Connectivity | Best event role | Important limitation |
|---|---|---|---|---|
| QL-700 | Direct thermal; maximum print height listed at 59 mm; 93 labels/min in Brother’s stated test | USB | Budget desktop labels and advance visitor badges | No network connectivity; narrow output |
| QL-800 | 58 mm maximum print width; 93 labels/min; black/red capability with compatible roll | USB | Compact event labels | Narrow for conference passes |
| QL-810Wc | 60.96 mm maximum print width | USB and Wi-Fi | Wireless compact labels | No wired Ethernet; narrow output |
| QL-820NWBc | 60.96 mm maximum print width; 110 labels/min in stated test | USB, Ethernet, Wi-Fi, Bluetooth | Networked visitor and exception desk | Too narrow for 4 × 3 short edge |
| QL-1110NWBc | 101.66 mm maximum print width; 110 mm/s | USB, Ethernet, Wi-Fi, Bluetooth | Wide labels and four-inch-class media | Exact 4 × 6 workflow still needs tested margins and stock |
Quoted speeds are manufacturer test figures, not completed attendees per minute. Check current drivers and regional model names before buying.
How Brother QL direct-thermal printing works
The printhead heats a coated Brother DK label or continuous tape. The process does not use ink or toner, which makes the hardware compact and reduces consumable types. The stock itself creates the image, so material selection affects darkness, durability and environmental resistance.
Continuous rolls allow a custom length—useful when the badge is narrow but tall. Die-cut labels make the finished size predictable and reduce the chance of inconsistent cutting. For a registration team, repeatability is usually more valuable than designing every badge to a different length.
Which badge sizes fit?
| Format | Dimensions | Compact QL models | QL-1110NWBc | Practical recommendation |
|---|---|---|---|---|
| DYMO-style name label | 41 × 89 mm | Comparable narrow format can fit a suitable Brother roll | Fits | Good for temporary nametags |
| 62 mm continuous | Up to 62 mm media width | Designed for this class | Fits | Good for narrow visitor badges |
| 4 × 3 in | 101.6 × 76.2 mm | Does not fit across 76.2 mm width | Potentially fits in an appropriate orientation | Test printable area and holder |
| 4 × 6 in | 101.6 × 152.4 mm | Too narrow | Potentially fits four-inch width | Use one badge per page; verify stock length |
| A7 | 74 × 105 mm | 74 mm short edge is too wide | Potentially fits | Check holder orientation |
| A6 | 105 × 148 mm | Too wide | 105 mm short edge exceeds 101.66 mm print width | Use a wider printer or sheet workflow |
For a general selection rather than a measurement lookup, use the conference badge size guide.
Best Brother QL event use cases
Visitor and contractor labels
A narrow label can display the visitor name, host, date and category. The QL-820NWBcVM is explicitly positioned by Brother for visitor badge printing, which makes the format a natural fit for reception desks and temporary access labels.
Meetups and workshops
For events where the main purpose is networking, a bold name and smaller company line may be enough. Start with customizable name tag templates and simplify the design for monochrome output.
Walk-ins and replacements
A Brother printer can sit at an exception desk while the main conference passes are pre-printed. The operator prints a narrow name label and applies it to a blank branded shell. This is often safer than trying to reproduce a complex colour badge onsite. See the walk-in and badge reprint process.
Category and access labels
Labels such as STAFF, SPEAKER, VIP or EXHIBITOR can be added to a larger credential. This allows the main badge to remain reusable when a role changes.
When a Brother QL is the wrong tool
- Your badge requires full-colour sponsor artwork or attendee photographs.
- The finished credential is wider than the printer’s maximum printable area.
- You need thick cardstock rather than approved thermal roll stock.
- The credential must survive long-term heat, light or chemical exposure.
- Your event platform expects a tested native SDK or print-language integration.
- You need A6 in a 105 mm-wide orientation on a QL-1110NWBc.
- You have not secured a reliable supply of the exact DK roll.
Prepare the attendee file
Use one row per attendee and stable headers such as first_name, last_name, company, badge_type and qr_token. The name badges from Excel guide covers the import process. For a large event, use the version-control and category structure from the large-conference attendee spreadsheet template.
Do not print private fields simply because they exist in the export. Use a unique token for a QR code rather than exposing an email address or other unnecessary personal data.
Step-by-step: BadgeFlow PDF to Brother QL
- Install the current Brother driver and confirm the printer appears correctly in the operating system.
- Load the exact die-cut or continuous DK roll you intend to use at the event.
- Measure the physical label and identify the printer’s printable width.
- Create a BadgeFlow badge with the exact label dimensions.
- Import the attendee spreadsheet and map the required fields.
- Apply the principles in the conference badge design guide: large name, restrained secondary text and strong contrast.
- Add a QR code or barcode only if it remains large enough for the label.
- Export one badge per PDF page rather than arranging a multi-label office sheet.
- Open the PDF in a desktop viewer and select the installed Brother printer.
- Choose the exact media size or configure the tested continuous-roll length.
- Set orientation to match the PDF.
- Choose actual size or 100%; disable fit, shrink and scale-to-printable-area options.
- Choose cutter behaviour that matches the desk process.
- Print the longest name, longest company and every attendee type.
- Measure the output, inspect clipping and scan every code.
- Save screenshots of the approved print dialog and driver settings.
Design rules for narrow thermal badges
- Prioritise the attendee name; remove non-essential fields before reducing the font.
- Use black on white for the strongest QR-code contrast.
- Avoid fine grey rules and complex gradients.
- Keep a generous quiet zone around codes.
- Test accented characters and non-Latin names if they appear in the data.
- Use a short company field when the legal name is too long.
- Keep important content away from cutter and label edges.
For scanner-focused guidance, read how to print scannable QR codes and barcodes on name badges.
Windows print settings
The labels and wording vary by driver version, but the essential controls are the same:
- Select the installed roll size, not a similarly named office-paper preset.
- Match portrait or landscape orientation.
- Use 100% or actual-size PDF scaling.
- For continuous roll, set the approved badge length.
- Choose cut after each label or after the job according to the assembly workflow.
- Use a quality setting that preserves codes and small text.
- Prevent the PDF viewer and driver from both rotating or scaling the page.
macOS print settings
Expand the print dialog to expose media size, orientation and scaling. Confirm the selected printer rather than a generic AirPrint queue when the full Brother options are required. Driver availability can change across macOS releases, so update and test event laptops well before arrival day.
USB, Ethernet or Wi-Fi?
| Connection | Advantages | Risks | Recommended use |
|---|---|---|---|
| USB | Simple, direct, easy to isolate | One laptop per printer; cable management | Small desks and fallback |
| Ethernet | Stable shared network path | Requires venue switch, addressing and cables | Permanent or multi-station setups |
| Wi-Fi | Flexible desk placement | Congestion, roaming and venue-network policy | Use only after realistic venue testing |
| Bluetooth | Useful for selected mobile workflows | Platform and app limitations | Secondary or specialised use |
The onsite badge printing guide explains why the print connection is only one part of the registration workflow.
Common Brother QL badge-printing problems
| Symptom | Likely cause | Fix |
|---|---|---|
| Badge is too small | PDF viewer fitted page to media | Select actual size and match media dimensions |
| Right or left side is clipped | Design exceeds printable width | Reduce content width or choose a wider model |
| Extra blank label feeds | PDF page length and roll length differ | Match continuous-roll length and remove extra PDF pages |
| Cut falls in the wrong place | Incorrect page height or cutter setting | Use a tested fixed page height and cut mode |
| Printer does not recognise roll | Wrong or poorly seated DK roll | Reload supported stock and confirm model compatibility |
| QR code will not scan | Too small, low contrast or scaled | Increase code, preserve quiet zone and print at 100% |
| Fine lines are faint | Line weight or quality setting is too light | Use heavier strokes and test quality settings |
| Long name overflows | Template lacks responsive fallback | Shorten secondary fields or create a long-name variant |
| Network queue pauses | Wireless or spooler bottleneck | Test USB/Ethernet and simplify the print path |
| Output is rotated | Viewer and driver orientations conflict | Set orientation in one layer and validate a test |
Hybrid workflow: branded shell plus Brother personalisation
Pre-print the event logo, colour and sponsor zone on a larger card, then reserve a clean white area for the Brother-printed name label. This combines professional colour with fast changes. Test the adhesive, alignment and holder fit. The pre-printed badge stock versus blank inserts comparison explains when the hybrid model is resilient.
Event-day kit
- Printer, power supply and labelled USB/Ethernet cable
- Approved DK rolls plus setup and contingency stock
- One pre-configured spare printer or an office-printer fallback
- Event laptop with tested driver
- Approved PDF and long-name test file
- Cleaning supplies
- Printed driver-setting screenshots
- Blank branded shells if using a hybrid process
- Manual emergency labels and marker pens
Choosing between die-cut and continuous DK rolls
Die-cut labels have a fixed width and height. They are easier to validate because every PDF page corresponds to one physical label. Continuous rolls have a fixed width but allow a custom length. They are useful for a tall visitor badge or category label, but the driver page height and cutter behaviour must be exact.
| Roll type | Advantages | Risks | Best BadgeFlow export |
|---|---|---|---|
| Die-cut | Predictable size; easy one-label-per-page setup | Limited to available product dimensions | PDF page equal to the die-cut label |
| Continuous paper | Flexible length and efficient custom layouts | Incorrect height can create blank feed or wrong cuts | Fixed custom page height for every attendee |
| Continuous film | Potentially more durable | Higher cost and model-specific supply | Exact custom page with tested darkness |
| Black/red compatible roll | Adds a second visual colour on supported models | Not full colour; design and media restrictions | Simple role or warning accent |
Using black and red responsibly
Selected Brother QL models can produce black and red on compatible two-colour media. Use red for a high-value signal such as VISITOR, VIP or EXPIRED—not as decorative branding across the entire label. Test the driver and exported artwork because black/red separation is not the same as printing an arbitrary colour PDF.
Long-name and multilingual testing
A narrow label can fail even when the printer is configured correctly. Build a test set with hyphenated surnames, double surnames, diacritics, non-Latin scripts and long organisations. Decide whether the name wraps, scales within a controlled range or switches to a long-name template. Do not allow the entire design to shrink unpredictably.
Use fonts available in the exported PDF and supported by your browser/PDF pipeline. Inspect characters after printing rather than assuming the on-screen preview proves driver rendering.
Compact QL event scenarios
Reception desk
Keep the QL-820NWBc connected by Ethernet or USB, with the approved label roll loaded. Print the visitor name, host and date. Maintain a manual visitor log or dedicated visitor system separately; BadgeFlow handles the printable badge design.
University open day
Use category labels for STUDENT, PARENT, STAFF and SPEAKER. Print groups in advance and reserve the networked printer for late arrivals. Avoid collecting or printing unnecessary student information.
Conference exception desk
Use a compact QL label on a larger blank branded shell. Keep a clear label placement box in the shell design so operators apply every label consistently.
Workshop with 80 participants
Print all labels from a cleaned spreadsheet before doors open. Sort them alphabetically on backing sheets or place them at a staffed desk. Keep the PDF available for a small number of corrections.
Wide QL-1110NWBc setup considerations
The QL-1110NWBc is close to the nominal 4-inch width, so tolerances matter. Avoid putting text or code modules against the outer edges. Use a stock supplier template when available. Confirm whether the media is adhesive, perforated or suitable for a holder. A 4 × 6 shipping label may be physically printable but may not provide the material, perforation or finish expected from a conference pass.
Mobile and stand-alone workflows
Brother offers mobile apps and template-storage capabilities on selected models, but a BadgeFlow PDF workflow is normally easiest to control from a tested laptop and desktop PDF viewer. Mobile printing can expose fewer custom-size and scaling controls. Use it only after proving the exact page dimensions and code quality.
Maintenance before event day
- Inspect and clean the printhead according to Brother guidance.
- Remove adhesive residue and paper dust.
- Check the cutter with the event roll.
- Print a darkness and fine-line sample.
- Inspect power and USB/Ethernet cables.
- Update drivers early, then freeze the setup.
- Store rolls in their recommended environment and keep them sealed.
- Label every approved roll with its product code and use.
Brother QL procurement checklist
- Full model name and regional suffix
- Maximum print width
- USB, Ethernet, Wi-Fi and Bluetooth requirements
- Current driver support
- Required DK roll product codes
- Rolls per event plus contingency
- Replacement cutter or service route
- Spare printer and power supply
- Return or rental terms
- Physical proof of the intended badge
Quality-control sampling during a batch
Do not inspect only the first label. Check a sample after the first 10, after every roll change and at regular batch intervals. Confirm text darkness, cut position and QR scanning. If the process changes a driver setting, start a new labelled batch and retain the approved sample.
Performance test protocol for a Brother QL event station
Run a repeatable test rather than printing a few sample labels:
- Start with a cold printer and freshly opened event stock.
- Print 10 single badges one at a time to simulate walk-ins.
- Print a 50-badge continuous batch.
- Measure time from clicking Print to the final cut badge.
- Check the first, middle and last output for placement drift.
- Scan all QR-code examples.
- Change the roll and repeat five labels.
- Disconnect the network and prove the USB fallback.
- Swap to the spare printer using the same laptop and PDF.
Record results in the event runbook. A model should not be approved only because the first label looks correct.
Operator quick-reference runbook
| Task | Operator action | Escalate when |
|---|---|---|
| Print normal badge | Select approved PDF page, verify printer and print at 100% | Name/data is wrong |
| Load roll | Use approved product code and seat spool | Printer does not recognise stock |
| Correct spelling | Move attendee to exception process | Access or ticket status also changes |
| Clear duplicate job | Cancel queue before resending | Queue cannot be cleared |
| QR test | Scan completed label | Two approved attempts fail |
| Printer offline | Check cable/power, then swap spare | Spare also fails |
| Cut problem | Stop queue and verify page height/cutter | Physical cutter is damaged |
How Brother QL compares with office sheet printing
Use an office laser printer when the badge is larger, colour matters and most attendees are known. Use a Brother QL when compact one-at-a-time output matters more than full-colour design. Many events benefit from both: laser-printed branded inserts for the main batch and QL labels for exceptions.
Data and privacy considerations
Limit the QL label to fields that are appropriate to display publicly. A visitor label may include a name and host, while internal notes stay in the visitor system. A conference code should use a random attendee token. Destroy misprints and remove abandoned labels from public desk areas.
Final Brother QL preflight
- Exact model and driver confirmed
- Approved DK roll product code recorded
- PDF dimensions match the label
- 100% scaling documented
- Long names fit
- Black/red design tested where used
- Codes scan from the final badge
- Fifty-badge batch completed
- Roll change rehearsed
- Spare printer tested
Frequently asked questions
Which Brother QL printer is best for conference badges?
For compact labels, the networked QL-820NWBc is flexible. For wider passes, the QL-1110NWBc is the relevant QL model because its print width is about 101.6 mm. The final choice still depends on the exact media and badge dimensions.
Can the QL-820NWBc print a 4 × 3-inch badge?
Not across the 76.2 mm short edge because the listed print width is about 60.96 mm. It can print a narrower attendee label that is applied to a larger pre-printed card.
Can BadgeFlow print directly to Brother QL printers?
BadgeFlow exports a PDF. You print that PDF through the Brother driver after selecting a media size that matches the PDF page. BadgeFlow does not use Brother’s SDK or automatically control the cutter.
Can Brother QL printers print in colour?
Most output is monochrome. Selected Brother QL models can print black and red when used with a compatible two-colour roll, but they are not full-colour photo or brand printers.
Should I use die-cut or continuous Brother rolls?
Die-cut rolls simplify consistent fixed-size labels. Continuous rolls provide flexible length but require a defined cut length and more careful page-size configuration.
Why is my Brother badge printing too small?
The most common cause is automatic PDF scaling. Select actual size or 100%, match the driver media dimensions to the PDF and disable fit-to-page.
Are Brother QL badges suitable for QR codes?
Yes, if the QR code is large enough, high contrast and printed with a clean quiet zone. Test the printed label using the actual check-in scanner.
Is Wi-Fi reliable enough for event check-in?
It can be, but wired USB or Ethernet is usually easier to diagnose. Test Wi-Fi at the venue under realistic load and maintain a direct-connect fallback.
Official Brother references
Brother and Brother QL are trademarks of Brother Industries, Ltd. BadgeFlow is not affiliated with, tested by or endorsed by Brother.