
How to Create Name Badges from Microsoft Forms Responses
To print name badges from Microsoft Forms, download the responses to Excel, prepare one row for each attendee, and import the production list into BadgeFlow. Map the name, department, company, or role fields to a badge design, then export a printable PDF. The Excel file provides the bridge between registration and badge production; this method does not require a direct Forms-to-BadgeFlow connection.
The main challenge is deciding which response fields belong on the badge. A signed-in account name may not be the name an attendee wants displayed. A person filling out the form might also be registering colleagues rather than themselves. Address those differences before generating the batch.
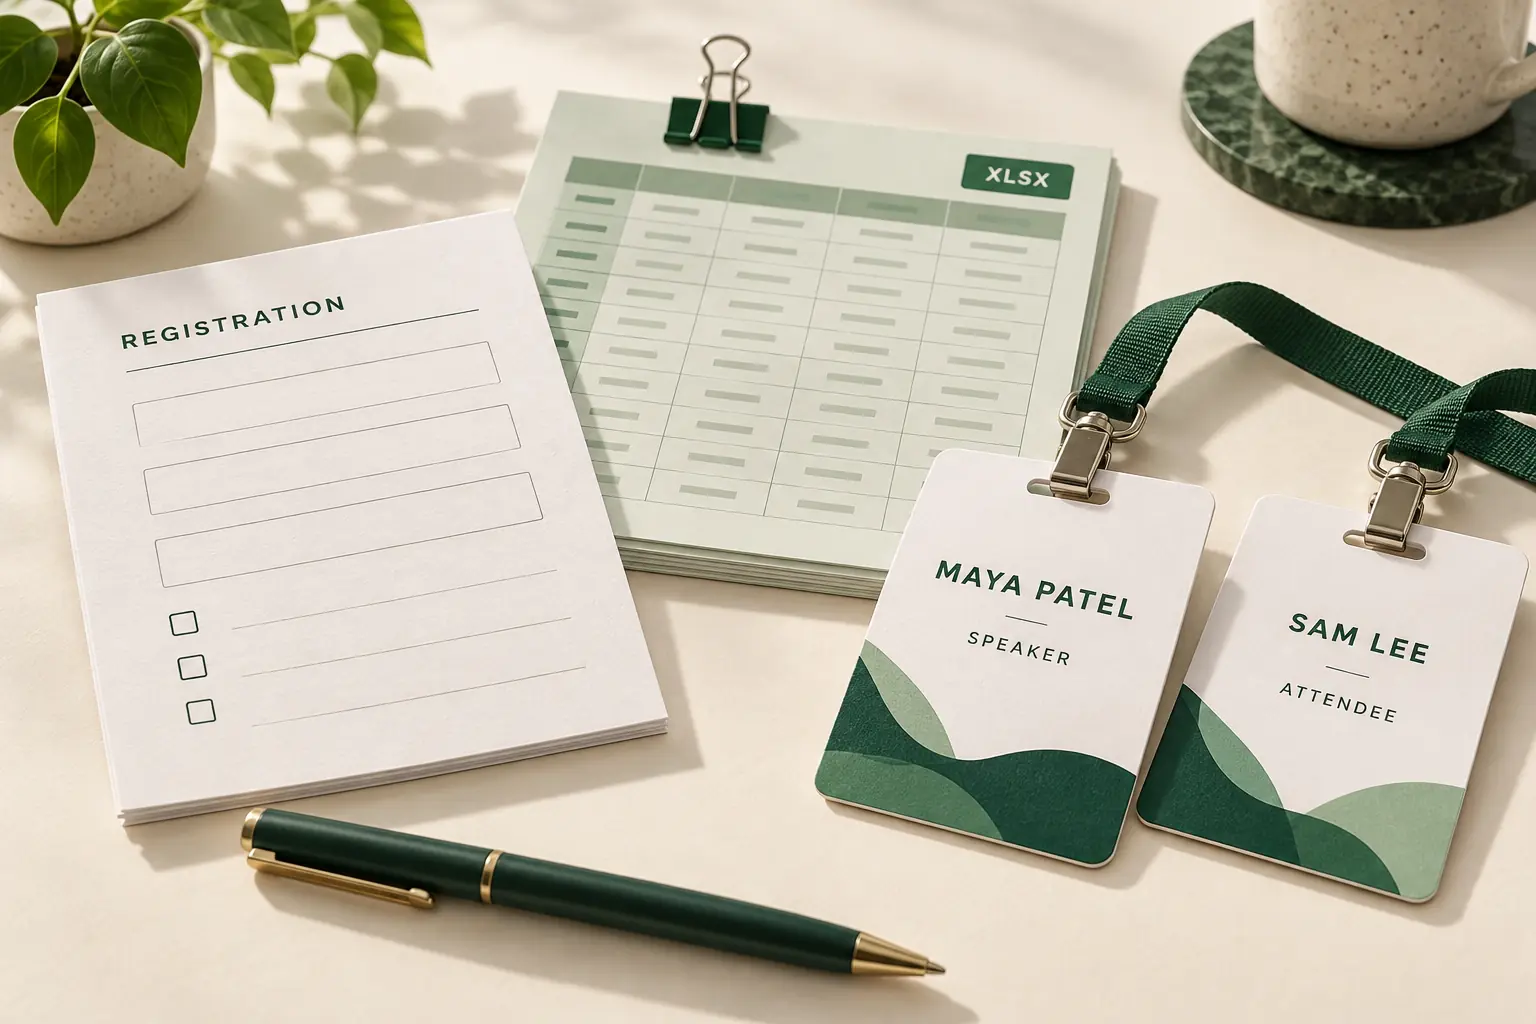
Collect the name people want printed
Add a clear question such as “Name to print on your badge.” This gives respondents a way to supply a preferred name, preserve accents, or avoid an account display name that is unsuitable for the event.
Microsoft documents identity-recording options for forms restricted to an organization. Do not assume that a public registration form has captured the respondent’s name automatically. Even when identity is recorded, it does not establish that the account holder is the attendee.
Explain the purpose beside optional questions. “Company or department, as you would like it printed” is clearer than “Organization information.” Keep information collected for registration separate from information the attendee expects to wear.
| Question | Suggested response | Required? | Print on badge? |
|---|---|---|---|
| Name to print | Short text | Yes | Yes, prominently |
| Company or department | Short text | Only if needed | Optional |
| Role or job title | Short text | No | Optional |
| Attendance category | Choice | If operationally useful | Optional category label |
| Contact email | Text with appropriate instructions | According to registration needs | No |
| Is this registration for you? | Choice | If people may book for others | No |
Export the responses to Excel
Open the form’s response overview. Microsoft’s current instructions describe Open results in Excel and a dropdown containing Download a copy. A downloaded copy is an offline snapshot. Connected workbooks can behave differently according to the form and account setup, so use the current Microsoft response-export documentation if your controls differ.
For badge production, a clearly named snapshot makes it easier to record which registrations were included. Save the file with an event name and version or timestamp. Keep the original response export intact, then create a separate production copy for cleanup.
There are three different objects to track: the form’s current responses, your Excel production file, and the exported badge PDF. A new response or a workbook refresh does not update a PDF that you previously downloaded.
Turn responses into a badge-production sheet
Use one row for each person who will receive a badge. If a response registers several guests, expand it into separate attendee rows before importing it. Do not put “Jamie and Robin” into a single name field unless you intentionally want one shared tag.
Keep a response or booking identifier in your internal production data when it helps reconcile records. A printed name should not be used as the only unique key: two attendees may share the same name, while one attendee may have submitted a correction.
Example: raw responses and the cleaned list
The following fictional columns illustrate a registration form; they are not a promise of exact Microsoft export headers.
| Response reference | Requested name | Department | Role | Submitted |
|---|---|---|---|---|
| R101 | Maya Patel | Operations | Attendee | September 20 |
| R102 | José Rivera | Learning and Development | Speaker | September 20 |
| R103 | Alexandra Chen-Williams | Community Partnerships | Attendee | September 21 |
| R104 | Sam Lee | Volunteer | September 21 | |
| R105 | Robin Morgan | Research | Attendee | September 22 |
| Display name | Department | Badge role | Internal reference |
|---|---|---|---|
| Maya Patel | Operations | Attendee | R101 |
| José Rivera | Learning and Development | Speaker | R102 |
| Alexandra Chen-Williams | Community Partnerships | Attendee | R103 |
| Sam Lee | Volunteer | R104 | |
| Robin Morgan | Research | Attendee | R105 |
The timestamp has served its registration purpose and is not needed in the design. The internal reference can stay in the working list without becoming visible badge text. Sam’s missing department should create a clean layout, not a conspicuous placeholder.
Review duplicates and difficult values
Before removing a duplicate, check whether it is a correction, a separate session booking, or another person with the same name. Resolve uncertain cases against the registration records. Avoid merging people simply because their display names match.
Remove accidental spaces, choose clear headers, and avoid merged cells in the production sheet. Preserve identifiers as text if they contain leading zeros. Review accented characters and long departments in the exported PDF, not only in Excel.
If a registration contains a formula-derived value, confirm the result you intend to print. A production list should contain meaningful display text rather than a calculation error or a note intended for administrators.
Create the badge layout in BadgeFlow
- Import the approved Excel or CSV production list.
- Choose a layout and set the finished badge dimensions.
- Map Display name to the most prominent text element.
- Add Department and Badge role only when they help attendees.
- Place the shared company or event logo in a smaller, consistent area.
- Preview records with long text, accents, and missing optional fields.
Start with the name hierarchy before adding decorative details. If the company logo fills half the design, you will have less space for names that were not represented in the first sample. The badge branding guide gives practical layout options.
For the general data-import process, follow creating badges from Excel. If your team actually uses Google Forms, use the separate Google Forms and Sheets workflow.
Choose the paper layout and print a proof
Select the correct page format and badge arrangement before downloading the PDF. US Letter and A4 are different sizes, and a similar-looking multi-badge sheet may have different gaps or margins. Match the actual product rather than choosing by appearance alone.
Use the multiple-name-tags-per-page guide for page layout and the Avery-compatible guide for supported stock formats.
Print one plain-paper proof at Actual size or 100%. Compare all positions against the stock. Check the longest text and inspect a separated badge in its holder. Only proceed once the file, printer settings, and physical materials agree.
Add late responses and corrections
Keep a clear cutoff for the main batch. After that point, review new or corrected registrations as a separate queue. Prepare a small production file for those people, check it against the existing print record, and generate the required replacements.
Record what was printed and when. This can be a simple working-log column; it does not require a new software integration. When someone changes departments, make sure the corrected record replaces the old badge instead of leaving two versions at registration.
If a colleague takes over printing, hand over the approved data file, the latest PDF, stock details, and successful printer settings together. A file called “final” is not enough when there have been several rounds of updates.
Troubleshooting Microsoft Forms name badges
| Issue | Check |
|---|---|
| Blank attendee names | Was an explicit printed-name question collected, and is it mapped? |
| Email shown instead of a name | Map the display-name field rather than the account/email column. |
| Too few badges | Expand group responses into one row per attendee. |
| Duplicate names | Review response references before deleting or merging records. |
| Recent changes missing | Confirm the response cutoff and the export/PDF versions. |
| Long text overlaps | Adjust the layout or omit optional information before shrinking every name. |
| Printing shifts across the sheet | Match page size, stock layout, and 100% scaling. |
Frequently asked questions
Can Microsoft Forms produce the badge PDF directly?
This method exports the registration data and uses BadgeFlow for the personalized badge layout. Printing response summaries is a different task.
Do I need Word mail merge?
No. In this workflow, BadgeFlow combines the production list with the design and generates the PDF.
Does BadgeFlow connect directly to Microsoft Forms?
The workflow described here uses an exported file. It does not assume a native connection or background synchronization.
What if my form is public or anonymous?
Collect a printed-name response explicitly. Do not assume a signed-in identity has been recorded or that it identifies the person attending.
Can I print company or department names?
Yes, prepare them as separate display fields and include them in the layout when useful. Preview long values before printing.
Will new registrations update existing badges?
A previously downloaded PDF stays unchanged. Prepare the updated data and generate another approved batch.