
How to Print Name Badges from Jotform Registrations
To print name badges from Jotform, download the relevant submissions as Excel or CSV, prepare one row per attendee, and import that list into BadgeFlow. Choose a layout, map the visible name and organization fields, and export a printable PDF. This is an export-and-import workflow: later changes in Jotform require a fresh production file and updated badge output.
The part worth getting right first is the relationship between submissions and people. One submission may describe one attendee, a family, a team, or a booking made by an assistant. The number of form responses is therefore not always the number of badges you need.
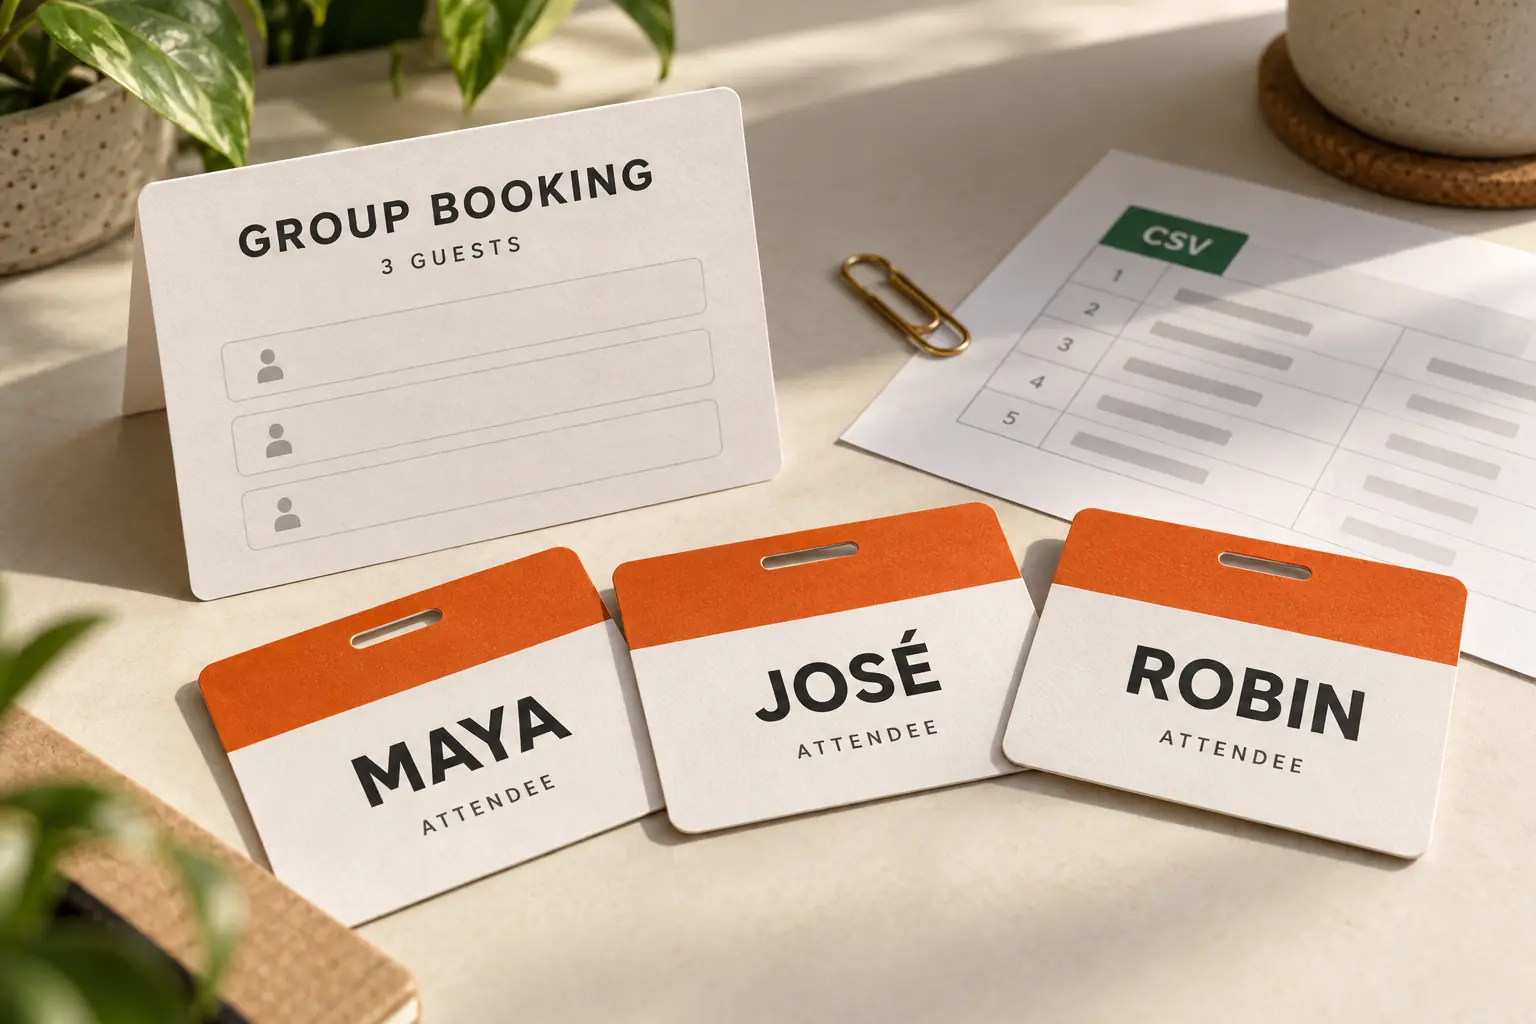
Choose the submissions that belong in the batch
Agree on the production scope before downloading anything. You may need confirmed attendees, a specific event date, a particular registration category, or all approved participants. Use only status fields that your form actually collects or your team maintains.
Do not assume that an exported response represents a completed payment or an accepted registration. A submitted form can be part of a longer approval process. Review canceled records, tests, and corrections according to your event’s rules.
Write down the expected count. If 80 submissions include 12 extra guests, an 80-badge PDF may be incomplete even when the export worked perfectly. Record the expected number of people separately from the number of bookings.
Set up useful badge fields
Collect the attendee’s preferred printed name, company or organization, and any useful role or category. Label the form clearly when the person completing it may be booking for someone else. “Your email” and “Attendee name” can refer to different people.
Keep the printed information concise. A company name may help introductions; a full postal address usually does not. Store operational information separately and only map fields that you intend to display.
If you already have responses, work with the actual export rather than redesigning the form midway through production. A separate cleaned sheet lets you standardize display values while retaining the original submissions for reference.
Export Jotform submissions to Excel or CSV
In Jotform Tables, use Download All, then choose the Excel or CSV option. Jotform’s current export instructions also describe selecting entries before downloading and filtering the table to control the exported set. Check the resulting file’s scope and count before using it.
A spreadsheet export is the useful input for this workflow. A PDF of an individual submission is a different output: it represents the form response rather than a row of fields ready to populate a multi-badge layout. An archive of uploaded attachments is different again.
Name your download with the event and date. Keep the raw export, then create a production copy that you can clean and validate. If you use several filtered exports, label them by attendee group so they cannot be mistaken for the complete list.
Turn each guest into a separate badge row
Inspect how your form’s name fields, guest fields, and repeated questions appear in the export. Custom widgets and group-registration arrangements can produce different structures. Do not assume an online example’s column names will match your file.
For each booking, identify how many people need badges and whether the submitter is one of them. Then create a row for each attendee in the production sheet. Keep a booking reference so you can reconcile the rows with the original response.
A fictional group-booking example
| Booking reference | Submitter | Attendee | Additional guest | Company |
|---|---|---|---|---|
| B204 | Jamie Chen | Jamie Chen | Robin Morgan | Harbor Studio |
| Preferred name | Company | Badge role | Booking reference | Attendee reference |
|---|---|---|---|---|
| Jamie Chen | Harbor Studio | Attendee | B204 | B204-1 |
| Robin Morgan | Harbor Studio | Guest | B204 | B204-2 |
| José Rivera | Northstar Labs | Speaker | B205 | B205-1 |
| Alexandra Williams | Community Design Research Collective | Attendee | B206 | B206-1 |
| Sam Lee | Volunteer | B207 | B207-1 |
The repeated booking reference is legitimate. The attendee references distinguish the two people for internal production; these example identifiers are not automatically valid tokens for any check-in system. If another system supplies official attendee identifiers, preserve those instead of inventing replacements.
Confirm the company for each guest rather than assuming it matches the person who paid. The example deliberately includes a blank company to show that optional information should remain optional.
Review duplicates, blanks, and long values
A second submission may be a correction rather than a second attendee. Compare the booking details before merging or deleting records. Two different people can also have the same name, so name matching alone is not a reliable duplicate rule.
Remove accidental spaces and administrative text from visible fields. Preview multi-part surnames, accents, and lengthy organizations. If you shorten a title, make sure the approved abbreviation is meaningful to readers.
The attendee spreadsheet guide provides additional field ideas. Keep the production sheet focused on the actual badge requirements rather than carrying every form response into the design.
Import the cleaned list into BadgeFlow
- Open BadgeFlow and import the approved Excel or CSV file.
- Select a suitable badge layout and confirm its finished dimensions.
- Map the preferred name, company, and role to the visible design fields.
- Add a shared event logo and adjust spacing.
- Review every record category, including guests, volunteers, and people with missing optional data.
- Choose the appropriate sheet layout and generate the PDF.
Use the Excel workflow or CSV workflow for the general import details. Keep the attendee name prominent; reduce optional text before making every name smaller to accommodate one long company.
For several badges on one sheet, select the matching physical layout. The multiple-name-tags-per-page guide explains the distinction between badge dimensions and page dimensions.
Add QR codes only when the destination is clear
A code may contain a supplied attendee reference or an appropriate URL, depending on the intended system. Decide what should happen after scanning before printing it. A booking number in a QR code does not, by itself, record attendance or retrieve an attendee’s details.
Preserve the exact values expected by your scanner or service, including leading zeros. Test a printed code with the actual receiving workflow. The badge code guide covers generation and print considerations.
Print, count, and handle updates
Generate a plain-paper proof at Actual size or 100% scaling. Match the printer page size to the PDF and compare all badge positions with the purchased stock. Test a finished insert inside the actual holder, particularly when a clip or seam might hide the name.
Compare the PDF’s badge count with your approved attendee count. Count the physical badges again after separating and assembling them. Keep guests and special categories in that reconciliation so an omitted group does not disappear into the total.
For later submissions, prepare a clearly named update batch. Record which attendees have already been printed and whether each new row represents an addition or a replacement. Keep the current file version alongside the approved printer settings.
When a printed name changes, remove the superseded badge from the distribution stack. Otherwise, a technically correct reprint can still leave the wrong version waiting at the registration desk.
Troubleshooting Jotform badge printing
| Problem | What to check |
|---|---|
| Fewer badges than guests | Expand group submissions into individual attendee rows. |
| Names combined unexpectedly | Inspect the actual exported field structure and create a clear display-name column. |
| Selected people missing | Review selection and filter scope, then compare exported records. |
| Canceled people included | Apply the event’s approved registration-status rules. |
| Uploaded photos absent | An attachment reference does not establish an automatic image-import workflow. |
| Output shifted on stock | Verify the sheet layout, page size, and scaling. |
Frequently asked questions
Should I export Excel, CSV, or PDF?
Use Excel or CSV for the attendee-data workflow. Submission PDFs serve a different purpose from a structured list used to generate badge sheets.
Can I print multiple badges per sheet?
Yes, prepare one attendee per row and select a multi-badge paper layout that matches the stock.
Does BadgeFlow connect directly to Jotform?
The method here is a manual file export and import. It does not promise a native connection or automatically synchronized badge files.
What if one response contains several people?
Create a separate production row for each person and retain a booking reference so the list can be reconciled with the original submission.
Can I use a photo uploaded through Jotform?
Confirm the current image-handling path before committing to a photo batch. Downloading submission data or attachments does not automatically associate each image with a BadgeFlow record.
Will new submissions update the PDF?
No. Review the additions, prepare an updated production list, and generate another PDF.