
How to make name tags in Canva from Excel or CSV
Canva can turn spreadsheet rows into personalized name-tag pages with Bulk Create. The important distinction is that generating one design page per person and arranging several different badges onto a correctly sized A4, US Letter, or pre-cut badge sheet are separate jobs. This guide explains both parts and helps you choose the most direct workflow for your event.
Prepare Excel or CSV data for Canva name tags
Use one row for every physical badge. Keep each item that needs independent styling in its own column. For example, splitting first and last names gives you the option to make the preferred name larger while keeping the surname smaller.
| First name | Last name | Company | Job title | Badge type |
|---|---|---|---|---|
| Maya | Chen | Northstar Labs | Product Director | Speaker |
| Daniel | Okafor | Fieldwork Studio | Research Lead | Attendee |
| Sofia | Martinez | Arc Systems | Partnerships Manager | Exhibitor |
Before uploading the file, remove totals, notes, merged cells, blank separator rows, and records that should not become badges. Check that group purchases contain attendee names rather than only the buyer's name. If your list needs deeper cleanup, use BadgeFlow's attendee spreadsheet structure as a preparation checklist.
Current Canva Bulk Create limits and availability
According to Canva's official help documentation checked on 20 August 2026, Bulk Create is available on desktop to Canva Pro, Teams, Business, Enterprise, Education, and Nonprofits users. Canva currently allows up to 300 selected rows and 150 columns, and accepts CSV and XLSX uploads. Canva may change its plans, limits, or interface, so verify the current Bulk Create documentation before a time-critical production run.
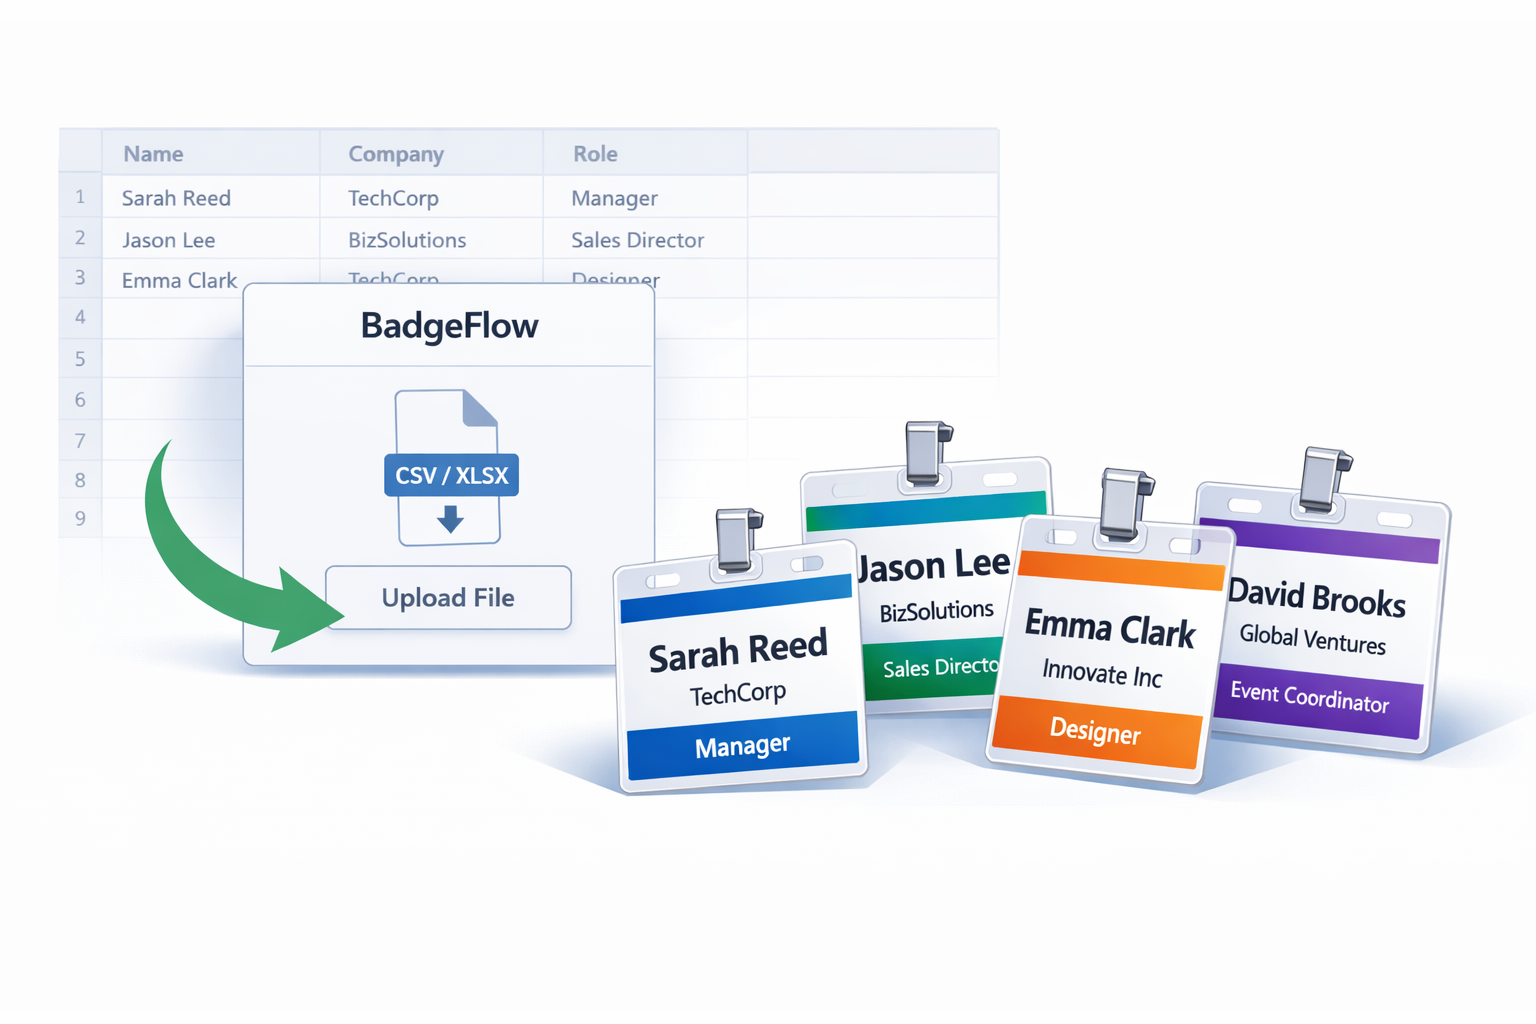
How to bulk create name tags in Canva
Choose or build the name-tag design
Start from Canva's name-tag templates or create a design at the physical badge dimensions you intend to use. Add separate text boxes for the name, company, title, and attendee type. If you are using a photo, add an appropriate frame or image placeholder.
Open Bulk Create
In Canva's current desktop editor, select the page background and choose Edit → Bulk create, or open Apps → Bulk create. You can also begin from a selected range in Canva Sheets.
Add the attendee data
Upload the CSV or XLSX file, paste data manually, or select a Canva Sheets range. Confirm that the first row contains useful column headings and that every remaining row represents one badge.
Connect columns to design elements
Connect each field to the matching text box or image placeholder. Keep names, companies, and roles separate so that their typography can be controlled independently. Canva also offers field matching in some current workflows, but manually check every connection.
Generate and inspect the pages
Preview the connected data, select the records you need, and generate the designs. Inspect the longest name, the longest company, missing job titles, accented characters, and every attendee type before downloading anything.
How to print multiple different Canva name tags on one page
Bulk Create normally solves personalization: one data row becomes one design page. Printing solves a different problem: placing those pages at exact physical dimensions on a sheet. You have three common options.
Option 1: Print several PDF pages per sheet
A PDF viewer can place multiple document pages on one paper sheet. This is useful for blank cardstock when exact pre-cut positions do not matter. However, the print dialog may shrink or center the pages, changing the finished badge size. It is usually unsuitable for Avery®-style sheets unless the resulting grid precisely matches that product.
Option 2: Build the complete sheet in Canva
Create an A4 or US Letter canvas and position badge frames at the required margins and gaps. This gives visual control but may require manual work to place different generated names into each position. Check that the finished sheet uses the correct physical dimensions and that no important content falls outside the printer's printable area.
Option 3: Use a badge-specific sheet layout
A badge generator treats the badge and the paper as separate sizes. BadgeFlow imports the attendee list, maps the fields, and arranges personalized badges on the selected paper layout before creating the PDF. See the dedicated guide to printing name tags from Excel for the broader method, or follow the BadgeFlow workflow to create badges from attendee data.
Can you print Canva name tags on Avery® sheets?
You can print a design on compatible stock only when the sheet layout exactly matches the product's badge width, height, margins, row and column gaps, orientation, and paper size. A visually similar name-tag template is not automatically an Avery® sheet template.
- Find the exact product code printed on the packaging.
- Confirm whether the product uses US Letter or A4 paper.
- Use the manufacturer's current template measurements.
- Print a plain-paper test and hold it behind the badge sheet.
- Print at 100% or Actual Size unless the product instructions explicitly say otherwise.
If you already have stock, compare it with BadgeFlow's Avery®-compatible name badge layouts. BadgeFlow is not affiliated with, tested by, or endorsed by Avery® or Canva.
Canva vs Word mail merge vs BadgeFlow for name badges
| Requirement | Canva Bulk Create | Word mail merge | BadgeFlow |
|---|---|---|---|
| Decorative design freedom | Strong general-purpose design tools | Possible but less visual | Badge-focused editor and templates |
| Spreadsheet personalization | CSV/XLSX/Canva Sheets; current plan and row limits apply | Excel data source | Excel, CSV, or pasted spreadsheet data |
| Output model | Typically one generated design page per row | Merged label or document grid | Personalized badges arranged on selected paper |
| Pre-cut badge sheets | Requires an exact matching sheet setup | Label definitions can match products | Includes supported Avery®-compatible layouts |
| QR/barcode values per attendee | Depends on the current connected-data workflow | Possible but often needs extra setup | Mapped from attendee fields |
| Best fit | Highly visual one-off or brand-led designs | Simple labels with an established Office workflow | Event badge production from attendee data |
Use Canva when
- You want a highly decorative design or already manage brand assets in Canva.
- Your batch fits the current Bulk Create limits and plan.
- You are comfortable creating or validating the final sheet layout.
Use BadgeFlow when
- Your starting point is an event attendee spreadsheet.
- You need different names, companies, roles, types, QR values, or barcode values.
- You want the badge and paper dimensions handled in the same workflow.
- You need to regenerate a print-ready PDF after last-minute data changes.
For a neutral comparison with the traditional Office workflow, read mail merge versus an online badge generator. To browse event-oriented starting designs, see the printable name tag templates.
A reliable final check before printing
- Confirm one row per intended badge.
- Inspect the longest and shortest records.
- Check missing values and attendee categories.
- Confirm badge size, paper size, orientation, margins, and gaps.
- Print one page at actual size on plain paper.
- Overlay it on the real stock or insert it into the real holder.
- Test real QR codes or barcodes with the intended scanner or app.
Turn your attendee list into printable badges
BadgeFlow is designed for the event-specific part of the job: mapping attendee rows to a reusable badge layout and generating a correctly sized PDF.
Frequently asked questions
Can Canva create name tags from Excel?
Yes. Canva's current Bulk Create workflow accepts XLSX and CSV files, as well as Canva Sheets data. Eligibility, desktop availability, and current limits depend on Canva's current plans and documentation.
Can Canva create a different name tag for every CSV row?
Yes. Each selected data row can generate a personalized design page after the columns are connected to elements in the template.
How do I print several different Canva name tags on one page?
You can use multiple-pages-per-sheet printing, build a complete sheet layout, or move the data into a badge-specific generator. Check the final physical size because generic multiple-up printing can shrink the badges.
Can Canva print on Avery® name-badge sheets?
Only when the complete design matches the exact Avery® product grid, paper size, margins, gaps, and orientation. A generic Canva name-tag template does not automatically match pre-cut stock.
Is Canva Bulk Create free?
As of 20 August 2026, Canva lists Bulk Create for specified paid, education, and nonprofit plans rather than the general free plan. Check Canva's current plan documentation before relying on it.
What should I test before printing all the badges?
Test the longest names, missing fields, every badge type, physical dimensions, printer scaling, holder fit, and any scannable codes using the actual stock and equipment.