
How to Print Name Badges from Airtable
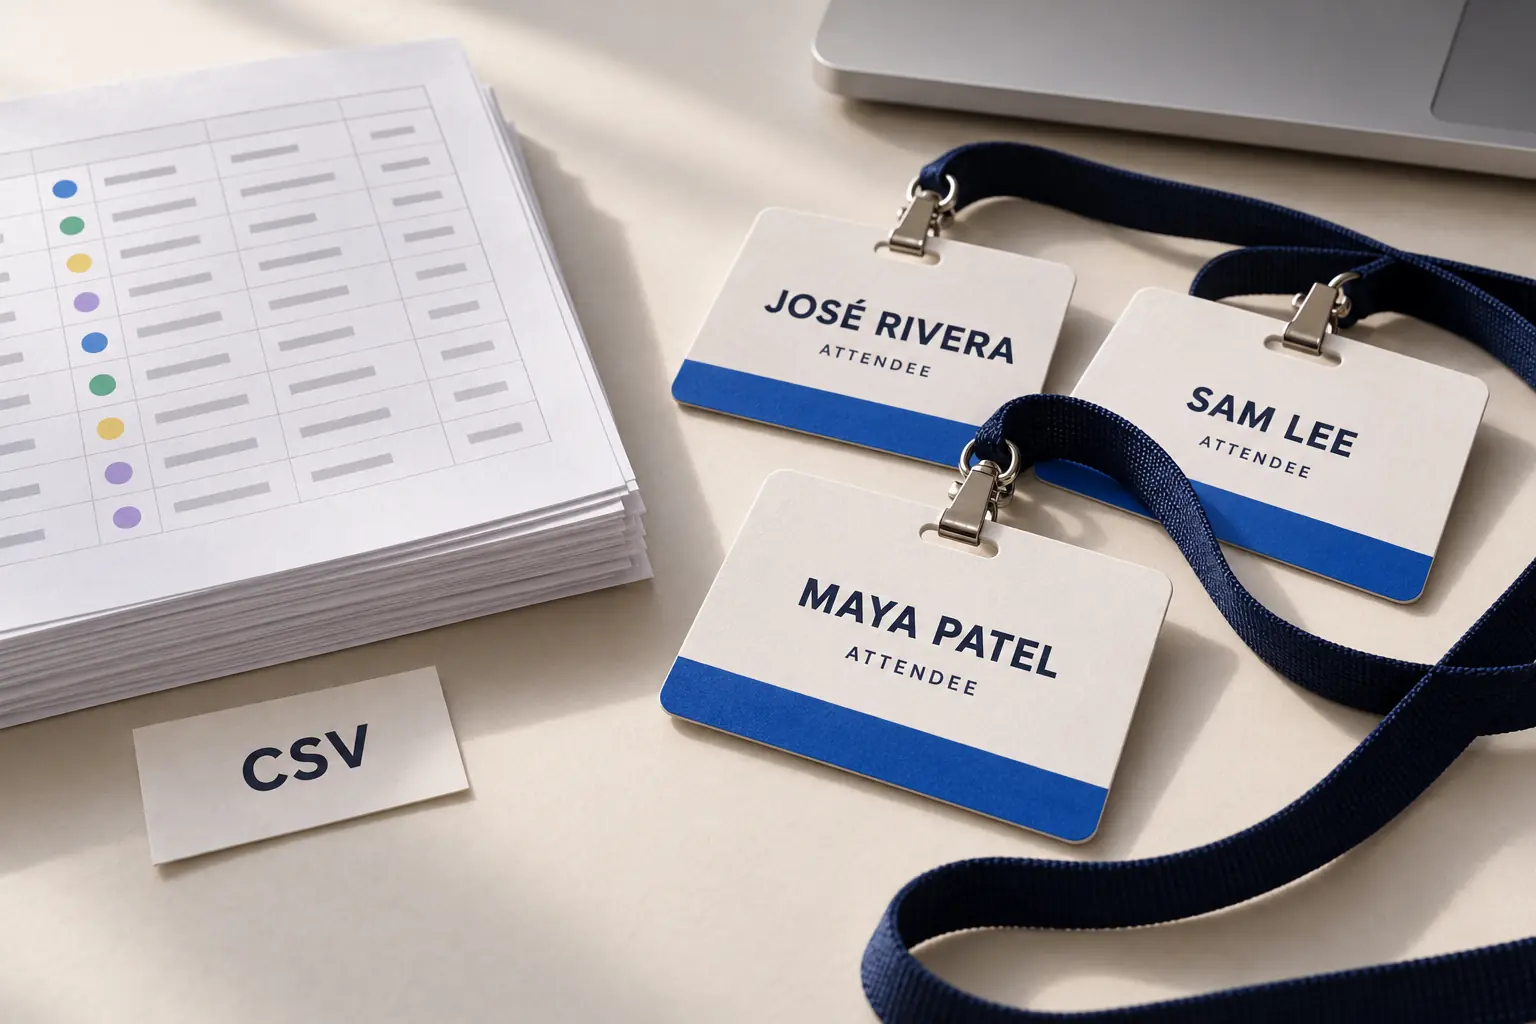
To print name badges from Airtable, prepare a grid view containing the people who need badges, export that view as CSV, and import the file into BadgeFlow. Map the name and other printable fields, choose your badge and paper formats, then download a PDF. Airtable remains your registration source; the CSV and PDF are snapshots that you regenerate when the list changes.
The important part is choosing the right records before you design anything. A polished badge is still wrong if it belongs to a canceled registration or leaves out a guest hidden by a filter. This guide walks through a controlled export, a useful production sheet, and the checks to make before printing the full batch.
What you need before you start
- Access to the Airtable base or a shared view that permits exports.
- A list with one record for each person who needs a badge.
- The finished badge dimensions and the exact sheet layout or holder you will use.
- A suitable printer, compatible stock, and a few sheets of plain paper for proofs.
Decide who owns the final attendee list. If several teammates change filters, status fields, or names, agree on a production cutoff and a clear place for late corrections. This prevents someone from printing an earlier export while another person assumes the latest edits are included.
1. Prepare a badge-production view
Create or select a grid view intended for badge production. Give it an unambiguous name such as “Confirmed attendees — badge export.” Include everyone who needs identification, including speakers, exhibitors, and staff if they are stored in the same table. Remove canceled or test registrations according to your event rules.
Review every filter. A filter for “paid attendees” could exclude speakers whose tickets are complimentary. A filter for one session could accidentally omit people attending the rest of the event. Write down the expected number of people and compare it with the exported file later.
Use separate fields when you need separate formatting. First name and last name can then have different emphasis. A single preferred-name field is also a good option when you want people to choose exactly how their name appears.
Keep operational data separate from visible badge text. Payment status, private notes, and contact details may help you manage registrations, but they do not automatically belong on a badge. For a fuller field list, see the attendee spreadsheet guide.
A simple production example
| First name | Last name | Company | Badge role | Attendee ID |
|---|---|---|---|---|
| Maya | Patel | Northstar Labs | Attendee | 00041 |
| José | Rivera | Harbor Studio | Speaker | 00042 |
| Alexandra | Chen-Williams | Center for Community Design and Research | Attendee | 00043 |
| Sam | Lee | Volunteer | 00044 | |
| Robin | Morgan | Fieldwork Collective | Exhibitor | 00045 |
The blank company is intentional. It should produce an uncluttered badge, not the word “blank.” The accented name and long organization are useful proof records. Keep identifiers such as 00041 as text when reviewing the file in a spreadsheet so their leading zeros survive.
2. Export the Airtable view as CSV
Airtable’s export documentation describes CSV export from grid views in its web and desktop applications. Open the base and the intended view, open the view-name menu, and choose Download CSV. View filters determine which records are included. A shared-view owner can disable copying, which also prevents CSV download.
If the option is unavailable, ask the owner for an authorized export or use an account with the appropriate access. Do not substitute an unrelated view simply because its download button is visible.
Open the export and inspect both rows and columns. Confirm the attendee count, required fields, and a few known people from different categories. Review the actual exported columns rather than treating a hidden field as a privacy guarantee.
3. Clean the exported values
Complex Airtable fields deserve a quick inspection. A linked record or multi-select value that is useful inside your base may produce text that is awkward on a badge. Make a readable display column in your production copy if necessary. For example, “Design; Research; Community Programs” may be better represented by a shorter approved affiliation.
Do not replace a person’s name with an abbreviation just to make it fit. First try changing the layout, allowing a second line, or removing less useful information. Check formula-derived fields for errors and confirm that optional fields do not contain placeholder text.
Save the approved file with a meaningful version, such as event-badges-2026-09-25-v1.csv. Keep the original export as a reference and use the cleaned copy for production. The CSV name-badge tutorial explains the general import workflow.
4. Create the badges in BadgeFlow
- Open BadgeFlow and import the approved attendee file.
- Choose a suitable layout and confirm the finished badge dimensions.
- Map the columns to the text fields you want displayed. Include the name first, then the company or role if useful.
- Add shared event branding and adjust spacing around the variable fields.
- Preview the longest name, the longest organization, the accented name, and a record with a missing optional value.
The badge size and paper size are different decisions. A 4 × 3-inch insert can be arranged on a larger sheet, but the arrangement must match the stock you purchased. Use the guide to printing several badges per page when choosing the sheet format.
If you need a QR code, supply the value your intended scanning system expects. Printing an attendee ID as a code does not create a database, record an arrival, or grant access by itself.
5. Download and test the PDF
Export the badge PDF, then print a plain-paper proof using Actual size or 100% scaling. Match the printer’s page size to the PDF. Compare every badge position with the real sheet, particularly the final row, where a small spacing error can become obvious.
For preformatted stock, match the exact product layout rather than choosing something that looks similar. The Avery-compatible template guide can help you select an appropriate format. Confirm that the specific stock is suitable for your printer.
Inspect a finished badge in its holder. Check whether the seam or clip hides text, whether the name is readable while worn, and whether any code scans after printing. Approve this complete sample before running the remaining sheets.
6. Handle late changes without printing the wrong version
Keep Airtable as the agreed source of truth. Correct the underlying record, prepare an updated export, and generate the required replacement batch. If you export a view containing only corrections, label it clearly and record which badges have already been replaced.
An Airtable edit does not alter a downloaded CSV or PDF. Before printing a correction, check the export version and preview the exact person. Retire the older replacement file so another team member cannot accidentally use it.
Common Airtable badge-printing problems
| Problem | Likely cause | What to check |
|---|---|---|
| Missing attendees | A restrictive view filter | Compare included categories and record counts. |
| Extra badges | Test, canceled, or duplicate records | Review registration status and identifiers. |
| Unwieldy field text | Combined or linked values | Create a readable display value in the production copy. |
| Changed IDs | Spreadsheet number conversion | Import identifiers as text and compare with the original. |
| Broken accents | Encoding or font mismatch | Inspect the CSV import and choose a font containing the characters. |
| Misaligned sheets | Wrong layout or scaling | Match stock, page size, and Actual size printing. |
Frequently asked questions
Can Airtable print name badges directly?
This workflow uses Airtable to prepare the data and BadgeFlow to create the badge layout. A printout of an Airtable view is different from a sheet of individually formatted badges.
Does BadgeFlow synchronize with Airtable?
The method described here is a manual CSV export and import. Refresh the export and regenerate the PDF when the data changes.
Can I use a shared Airtable view?
Yes, if its owner permits the required export and it contains the records and fields you need. Otherwise, request an appropriate export from the owner.
Why does my export contain fewer people than the base?
Start with the view filters. Also check whether your expected count includes people stored in another table or more than one guest within a single record.
Can I add QR codes?
You can use supplied code values in the badge workflow. Confirm the format with the system that will scan them, and test the printed result.
Can I print only changed attendees?
A separately prepared export containing the required people can form a new small batch. Review its count and replace the old badges deliberately.