
How to Print Name Badges from Ticket Tailor
Ticket Tailor can export order information as a CSV file for Excel or Google Sheets. From there, you can prepare one row per badge, map the fields into BadgeFlow and generate a print-ready PDF.
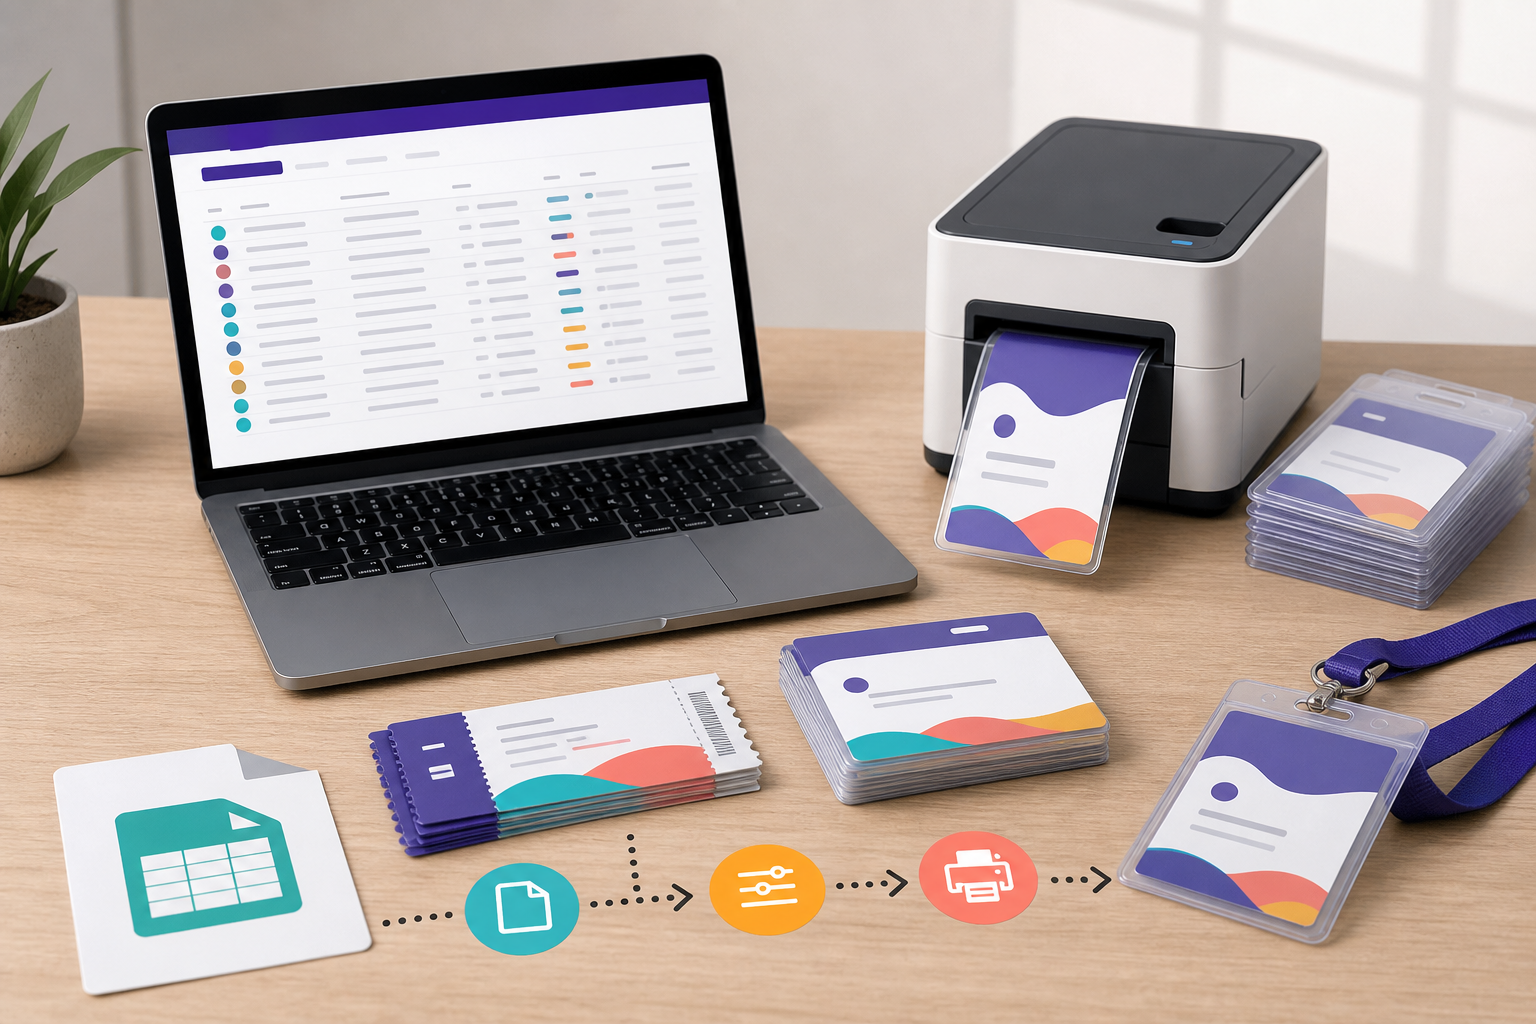
Current workflow Ticket Tailor interfaces can change. The steps below reflect its official help documentation available in July 2026. Review Ticket Tailor’s current help centre before a critical event.
The complete workflow
- Filter the relevant event orders in Ticket Tailor.
- Export the required order or line-item fields to CSV.
- Check that the file contains one row per badge.
- Clean the names and keep useful fields such as company, ticket type and role.
- Import the file into BadgeFlow.
- Map fields, choose a size and customise the design.
- Generate, test and print the PDF.
Choose the right Ticket Tailor export
Ticket Tailor’s official instructions place exports in the Orders section. You can filter the data, choose Actions and then Export. The export can be downloaded as a CSV for Microsoft Excel or Google Sheets.
The current export options include:
- Overview report: basic information for each order.
- Line item report: a breakdown of individual items within an order.
For badges, the most important question is not the report name—it is whether the result gives you one accurate row for each person who needs a badge. When one buyer purchases several tickets, an order overview may not contain separate named attendees. An itemised report or a separately prepared attendee sheet may be more appropriate.
Ticket Tailor also provides a door-list export from issued tickets. A door list can be useful for manual check-in, but inspect its columns before assuming it is the best badge source.
Export the data
- Open Orders in the Ticket Tailor dashboard.
- Filter by event, occurrence, order status or date as required.
- Select specific orders when you do not want every visible record.
- Choose Actions → Export.
- Select the overview or line-item report.
- Include only the sections and fields needed for production.
- Download the report as CSV.
Ticket Tailor notes that the report reflects the filters visible on screen. Record those filters in your production log so the team can reproduce the export if necessary.
Official reference: Ticket Tailor: How to export your order information.
Prepare one row per badge
Open the CSV in Excel or Google Sheets and check:
- Does every ticket holder have a separate row?
- Are the names attendee names or buyer names?
- Are cancelled or refunded items excluded?
- Do group bookings repeat a buyer name instead of collecting individual names?
- Does the file contain the ticket type or custom answers needed on the badge?
If individual attendee names were not collected during registration, no badge tool can infer them. Ask the buyer for attendee details or prepare editable placeholders before the event.
Recommended badge columns
| Column | Use |
|---|---|
| First name | Main name line or combined display name. |
| Last name | Sorting and display. |
| Company | Networking context. |
| Role | Job title or event role. |
| Ticket type | Access category, visual treatment or batch. |
| Badge ID | Internal production and reprint reference. |
| Code value | Optional QR or barcode data after validation. |
Import the file into BadgeFlow
BadgeFlow’s workflow is designed for spreadsheet data. Import or paste the prepared attendee list, map each column to a design element, then choose a standard or custom badge size.
For general spreadsheet preparation, see name badges from Excel and how to print name tags from Excel.
Map fields deliberately
- Combine first and last name only if the layout handles the result consistently.
- Use company or organisation as the second visual level.
- Map ticket type to a written role label, not colour alone.
- Keep order references off the visible badge unless they serve a real operational purpose.
- Do not print email addresses or other personal data merely because they appear in the export.
Choose the badge size and template
A compact 4 × 3 inch format is suitable for names, organisations and a small code. A 4 × 6 inch or A6 format gives more room for ticket categories, schedules and sponsor content. Review the conference badge size guide before buying holders or stock.
Colour-code by ticket type carefully
Ticket type can drive visible categories such as General Admission, Workshop, Speaker or Staff. Use a clear written label and then reinforce it with a colour band or border. Confirm that the category means the same thing to registration and security staff.
Add QR codes only when the workflow is defined
A printed QR code is useful only when a compatible system knows how to interpret it. Decide whether the badge should contain a registration ID, a URL or another value, and confirm the scanner can process it. Avoid putting unnecessary personal data directly in the code.
Read the guide to QR codes on conference badges for privacy and print considerations.
Generate and check the PDF
- Preview the longest name and organisation.
- Check at least one record from every ticket type.
- Verify that cancelled orders are absent.
- Print at actual size on the real stock.
- Place the insert in the holder.
- Scan sample codes with the event’s real devices.
- Record the export time and file version.
Update badges after new registrations
Set a deadline for the main run. After that point, export only the new or changed records when possible, or maintain a small reprint sheet. Ticket Tailor supports saved report configurations, which can make repeated exports easier, but always verify the filters before downloading.
Troubleshooting
The same buyer name appears several times
The order may contain multiple tickets without individual attendee names. Confirm whether those rows represent separate people and collect the missing names.
There are duplicate badges
Check for refunded orders, transferred tickets, repeated exports and merged files. Use a stable ticket or badge ID to reconcile records.
Some fields are blank
Decide whether to leave the line empty, hide it or use a neutral fallback. Avoid manually typing changes directly into individual designs.
The export contains too much information
Remove payment, address and private registration fields that are not required for the badge. Keep production data to the minimum necessary.
Order report versus line-item report: a practical example
Imagine that Alex buys four tickets for a company team. An order overview may show one buyer and one order total. A line-item report can provide separate ticket items, but those items may still repeat Alex’s details if individual ticket-holder names were not collected. The production team must therefore inspect the actual columns rather than assuming that “itemised” automatically means “one named attendee”.
For each physical badge, create a final production row with a stable ticket or badge ID. Keep the original order reference in a non-visible column so the registration desk can trace the record when a correction is requested.
Use saved Ticket Tailor reports for repeatable exports
Ticket Tailor’s current reporting workflow allows organisers to save report configurations. A saved export can reduce mistakes when the same fields are needed several times, but it does not remove the need to check filters. Before every download, confirm the event, occurrence, order status and date range visible on screen.
Record the export time. Registrations or edits made after that time will not be represented in the badge file unless a new export is generated.
Protect attendee data during production
Ticket exports may include contact, address, payment or custom-question information that has no place on a badge-production laptop. Select only the fields needed where possible, then remove unnecessary columns before sharing the file with designers, printers or volunteers.
- Use a restricted folder for attendee exports.
- Do not email unprotected spreadsheets to a broad production list.
- Share the minimum file needed with an external print provider.
- Delete temporary local copies according to the event’s retention policy.
- Keep private registration answers out of QR codes and printed text.
Prepare a printer or print-shop handoff
If badges will be printed externally, send a proof file with several realistic attendees rather than the entire list first. Confirm the finished badge dimensions, page size, stock, colour expectations, cutting or perforation process and whether the shop will preserve the PDF’s page order.
If you are printing internally, run several complete sheets instead of a single badge test. Alignment can drift across a sheet even when the first position looks correct.
Frequently asked questions
Can Ticket Tailor export attendee data to CSV?
Yes. Ticket Tailor’s current help documentation explains that order and customer data can be exported from the Orders area as a CSV file for Excel or Google Sheets.
Which Ticket Tailor report should I use for badges?
Use the report that gives you one usable line for each person who needs a badge. The itemised line-item report is often more useful than an order overview when one order contains several tickets.
Can I colour-code badges by Ticket Tailor ticket type?
Yes. Keep the ticket-type field in the CSV and use it to organise the output or apply a corresponding visual treatment in the badge workflow.
Does BadgeFlow connect directly to Ticket Tailor?
This guide uses an export-based workflow: Ticket Tailor CSV to BadgeFlow to print-ready PDF. Do not assume a live native integration unless BadgeFlow announces one.
Can a Ticket Tailor QR code be printed on the badge?
Only use a code value when you understand what it represents and have confirmed that the intended scanning system can read and validate it. Test with the real check-in setup before printing the full run.