
How to Print Name Badges from Humanitix
Humanitix provides attendee-level CSV exports and can include the QR-code data associated with digital tickets. Use the attendee report—not simply the order report—when you need one badge per ticket holder.
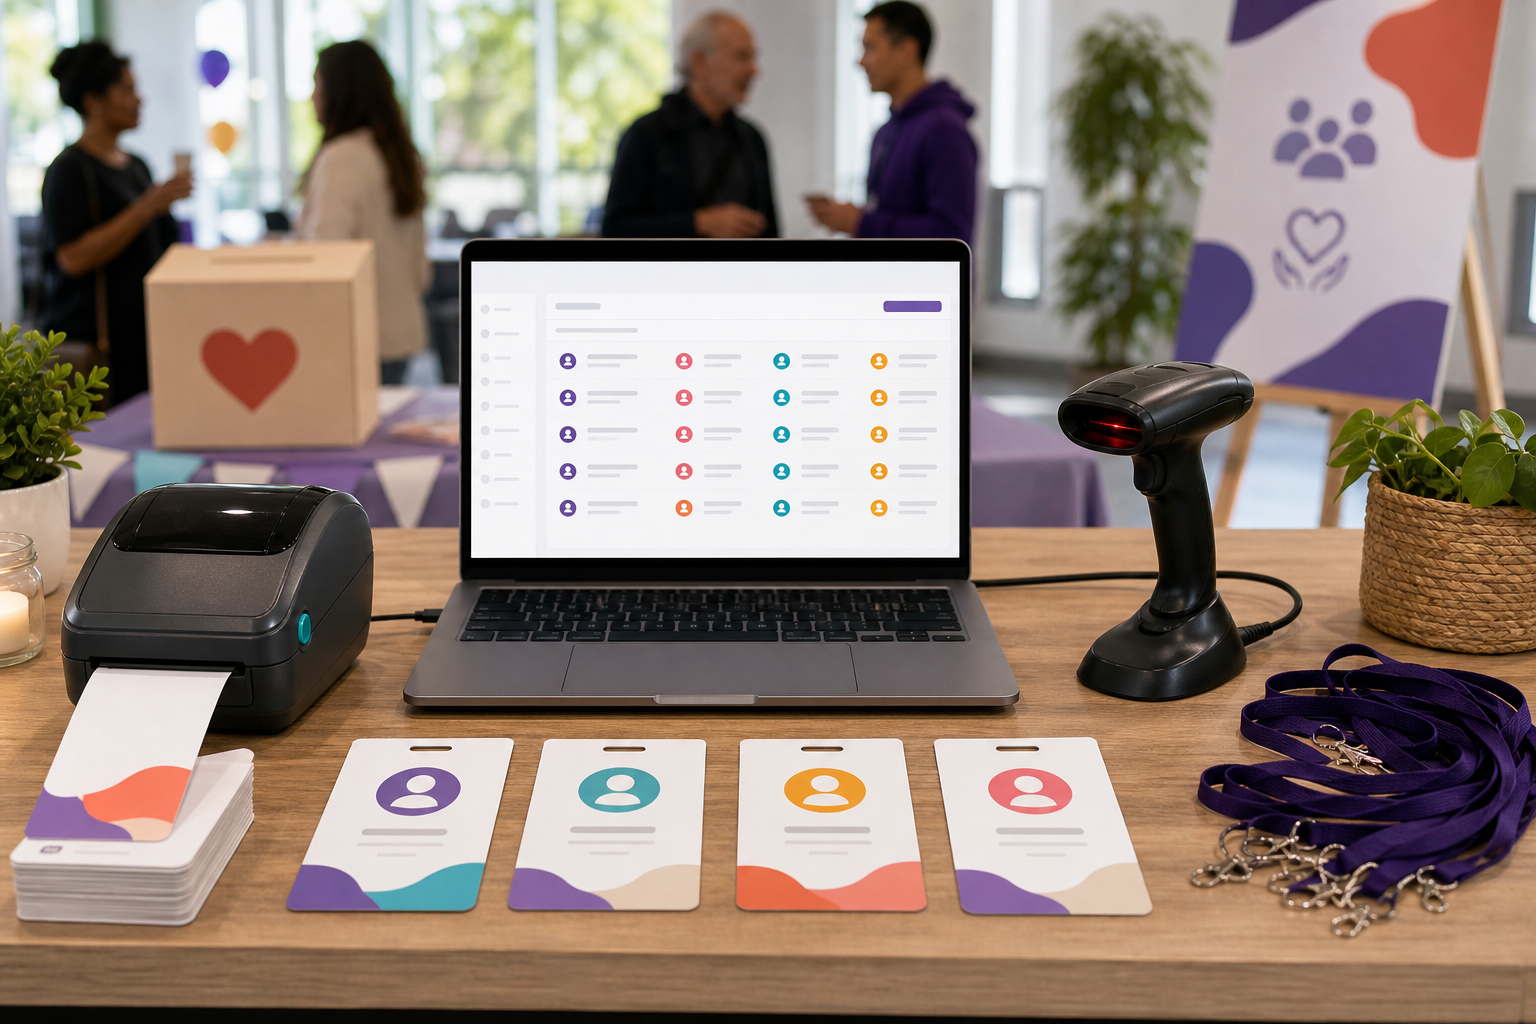
Use attendee-level data Humanitix separates buyer/order information from ticket-holder information. Badge production normally needs the attendee report because each valid ticket can require its own badge.
The workflow
- Open the Humanitix attendee report.
- Filter the correct date and ticket types.
- Export the Attendee details CSV.
- Confirm one real attendee per row.
- Keep the name, category, organisation and optional code fields.
- Import into BadgeFlow.
- Generate, print and scan-test the PDF.
Buyer data versus attendee data
Humanitix’s orders report contains buyer and transaction information. The attendees report contains ticket-holder information and answers collected per ticket. For badges, use the attendee-level file unless the event genuinely issues one badge per buyer.
Export attendee details
- Manage the event from the Events area.
- Go to Manage attendees → Attendees.
- Use filters for ticket type, date or cancelled tickets.
- Select Export attendees.
- Choose Attendee details CSV.
Humanitix also provides a simplified PDF guest list, but the detailed CSV is usually more suitable for personalised badge production.
Official reference: Humanitix: buyer and attendee reports.
Check for repeated buyer names
Humanitix explains that if a buyer purchases multiple tickets and unique attendee names were not collected, the attendee report can repeat the buyer’s name. Those rows represent tickets, but not necessarily the correct people.
Before printing:
- identify orders with repeated names;
- collect the real ticket-holder names;
- update the source data;
- retain a stable ticket or badge ID for reconciliation.
Export the Humanitix QR-code value
Humanitix’s official documentation says the final column of the Attendee details CSV contains the QR-code data associated with digital tickets. That value can be used to generate a QR code on other print or digital media.
Official reference: Humanitix: export digital-ticket QR-code data.
Test before relying on it Generate sample badges and scan them with the current Humanitix for Hosts app or the exact check-in system used at the event. BadgeFlow prints the value but does not validate tickets or update Humanitix check-in status.
Clean the spreadsheet
| Useful badge fields | Fields to treat carefully |
|---|---|
| Attendee first and last name | Email, phone and address |
| Ticket type | Payment and transaction details |
| Organisation and role | Dietary, accessibility and private checkout answers |
| Stable ticket ID or QR value | Internal notes |
| Event date or session | Buyer details unrelated to the wearer |
Import into BadgeFlow
Import the cleaned CSV, map the attendee fields and choose the physical badge format. You can add text, logos, photos, QR codes and supported barcodes, then export a PDF for A4, US Letter or another page size.
See name badges from Excel for the core spreadsheet workflow.
Create badge categories
Ticket type can help distinguish attendees, volunteers, donors, speakers or access groups. Use a written label and a visual treatment. Do not rely on a subtle colour difference that staff may not recognise.
Place the QR code for reliable scanning
- Keep it flat and away from the lanyard slot.
- Use a high-contrast plain background.
- Do not crop the surrounding quiet area.
- Test after inserting the badge into the holder.
- Use realistic venue lighting and devices.
Read QR codes on conference badges and QR codes and barcodes on name badges.
Generate and inspect the PDF
- Check the longest names and organisations.
- Confirm every ticket type.
- Remove cancelled tickets.
- Confirm duplicate buyer names have been resolved.
- Print on the final material at actual size.
- Scan sample QR codes through the holder.
- Keep a manual name-search fallback for check-in.
Update the list before the event
Humanitix registrations can continue after the first export. Freeze the main production file at an agreed time, then create a smaller late-registration and reprint batch. Record the exact export time so staff understand which sales or edits are included.
The conference check-in checklist helps coordinate those deadlines.
Troubleshooting
The QR code does not scan
Confirm that the exact exported value was mapped, increase the printed size, improve contrast, check the quiet area and test without the holder to isolate glare.
Several tickets have one buyer name
Collect unique attendee names and update the production sheet. Do not print several identical badges unless that is intentional.
The attendee is missing
Check event-date filters, ticket status and cancellation state. Confirm that you exported the attendee report rather than only the buyer order report.
Example: one buyer, three tickets
If Priya buys three tickets and the checkout asks only for buyer information, the attendee report may show three valid tickets carrying Priya’s name. The tickets are not necessarily duplicates, but the printed names would be wrong for the other two guests. Add a unique attendee-name question per ticket before registrations open whenever individual badges are required.
For an event already in progress, contact the buyer, update the ticket-holder details where supported, or maintain a controlled correction sheet.
Map Humanitix fields to the badge
| Humanitix field | Badge use |
|---|---|
| Attendee name | Main identity line |
| Ticket type | Category, access or colour group |
| Event date | Date-specific badge or production batch |
| Per-ticket company question | Organisation line |
| Per-ticket role question | Job title or event role |
| Ticket QR data | QR code after validation with Humanitix check-in |
| Order ID or ticket ID | Non-visible production reference |
Humanitix QR codes and privacy
The exported ticket value should be treated as a credential. Do not publish the spreadsheet, expose it in shared screenshots or send it to people who do not need production access. A photographed badge may also be copied, so the Humanitix check-in system should detect or manage repeated scans according to the event’s policy.
A printed code should not contain extra personal data beyond the value already required by the ticket workflow.
Test the complete Humanitix check-in path
- Export several real test tickets.
- Generate badges using the exact QR field.
- Print them on the final printer and stock.
- Insert them into the real holder.
- Scan with every phone or tablet model used by hosts.
- Confirm that the correct attendee record appears.
- Test a repeated scan and understand the warning shown.
- Define a manual name-search process.
Multi-date and ticket-type events
Humanitix allows attendee reports to be filtered by event date and ticket type. Use those filters to create sensible production batches, but keep a master export for reconciliation. A date-specific badge can reduce confusion at recurring events, while a reusable multi-day pass may need the full date range printed clearly.
Data handoff to a print provider
When an external company prints the badges, share a PDF where possible instead of the full Humanitix export. If the provider needs variable data, supply only the required columns through an approved secure method and confirm deletion after production.
Quality-control checks for Humanitix data
Before generating the full badge PDF, filter the production sheet for blank attendee names, repeated QR values, cancelled tickets and unusually long answers. Compare badge counts by ticket type with the Humanitix report. A mismatch can indicate that a filter, transfer or cancellation was handled incorrectly.
Keep the raw Humanitix CSV unchanged and perform cleaning in a separate copy. This preserves the source data and makes it easier to explain why a particular badge was included or excluded.
Example batch plan for a fundraiser
A fundraiser may include general attendees, donors, volunteers, performers and staff. Use ticket type or a controlled custom field to create those groups. Print volunteers and staff first because their badges may be needed during setup. Produce the general-attendee batch closer to the registration deadline, then reserve a small amount of stock for late sales.
Do not print donation amounts, private notes or checkout answers on the badge. A visible donor category should be used only when it is intentional and appropriate for the event.
When the QR code should not be reused
If a ticket is cancelled, transferred or replaced, confirm how Humanitix treats the original credential. Do not copy an old QR value into a new attendee row merely because it scans. The ticketing platform should determine which code is valid, and the production file should reflect that authoritative state.
Frequently asked questions
Which Humanitix report should I use for name badges?
Use the attendee details report when you need one row per ticket holder. Humanitix explains that the orders report is buyer-focused, while the attendees report contains ticket-holder information.
Can Humanitix export ticket QR-code data?
Yes. Humanitix’s official help documentation says the final column of the Attendee details CSV can contain the QR-code data for digital tickets.
Can a printed Humanitix QR code be checked in with the Humanitix app?
Humanitix’s host app scans ticket QR codes, but you must test the exported value after generating the printed badge. BadgeFlow does not perform the validation itself.
Why are duplicate names appearing in the Humanitix attendee report?
Humanitix notes that when unique names are not collected for every ticket, several tickets can inherit the buyer’s name. Confirm the real ticket holders before printing.
Does BadgeFlow directly synchronise with Humanitix?
This guide uses a CSV export workflow. BadgeFlow creates the badge PDF; Humanitix remains the ticketing and check-in system.